
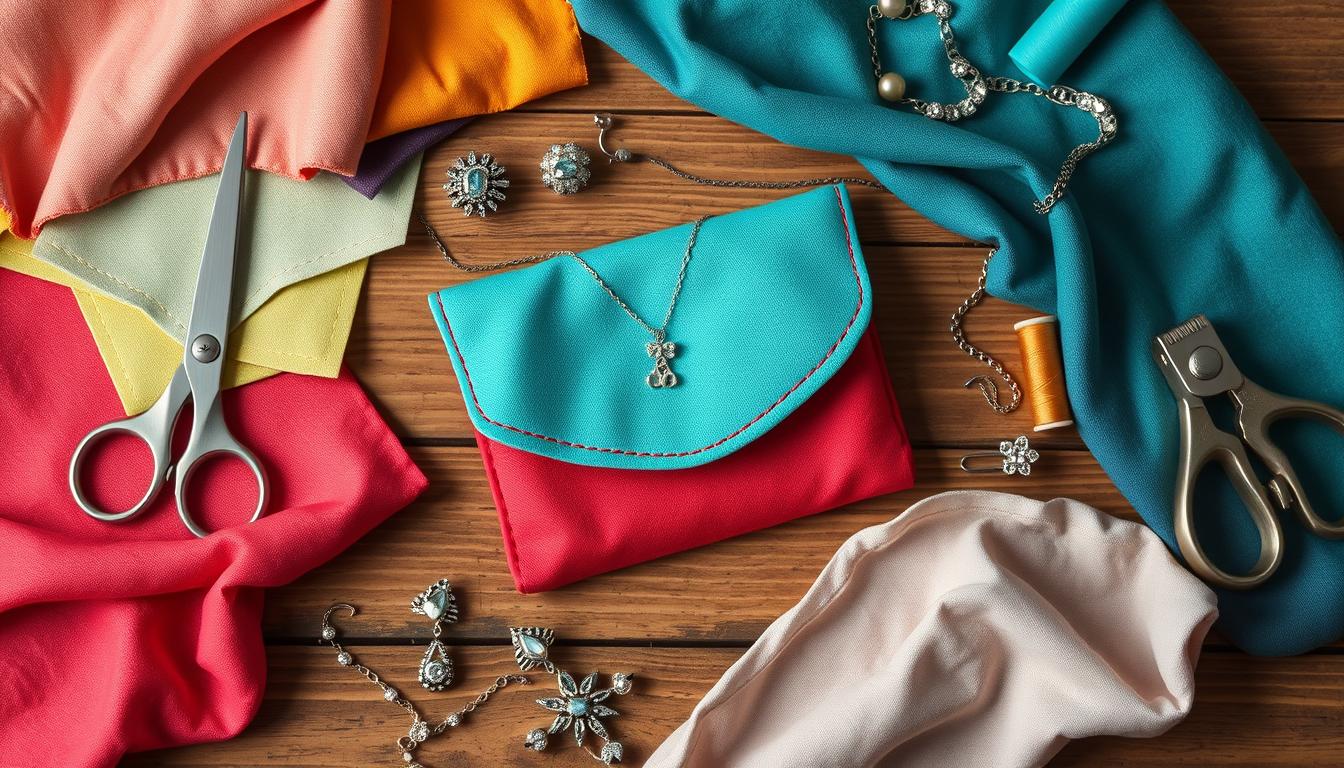
Making a DIY jewelry organizer is both fun and useful. Our guide is great for beginners and sewing pros alike. It shows you how to make a travel jewelry pouch that’s easy to use and looks good. It has a special drawstring closure to keep your jewelry safe and stylish.
We’ll cover what you need, like materials and tools. We’ll also give you step-by-step directions to make your own pouch.
Key Takeaways
- Four fabric squares needed: 14″x14″ and 9″x9″ sizes1
- Approximate finished jewelry pouch size is 5″x5″x6″ closed and 12″ open flat2
- Satin cord for drawstring: 76″ in total1
- Includes central area for larger jewelry and eight inner pockets2
- Simplified pattern tested by experienced sewists, with photos available2
Introduction to Sewing a Jewelry Pouch
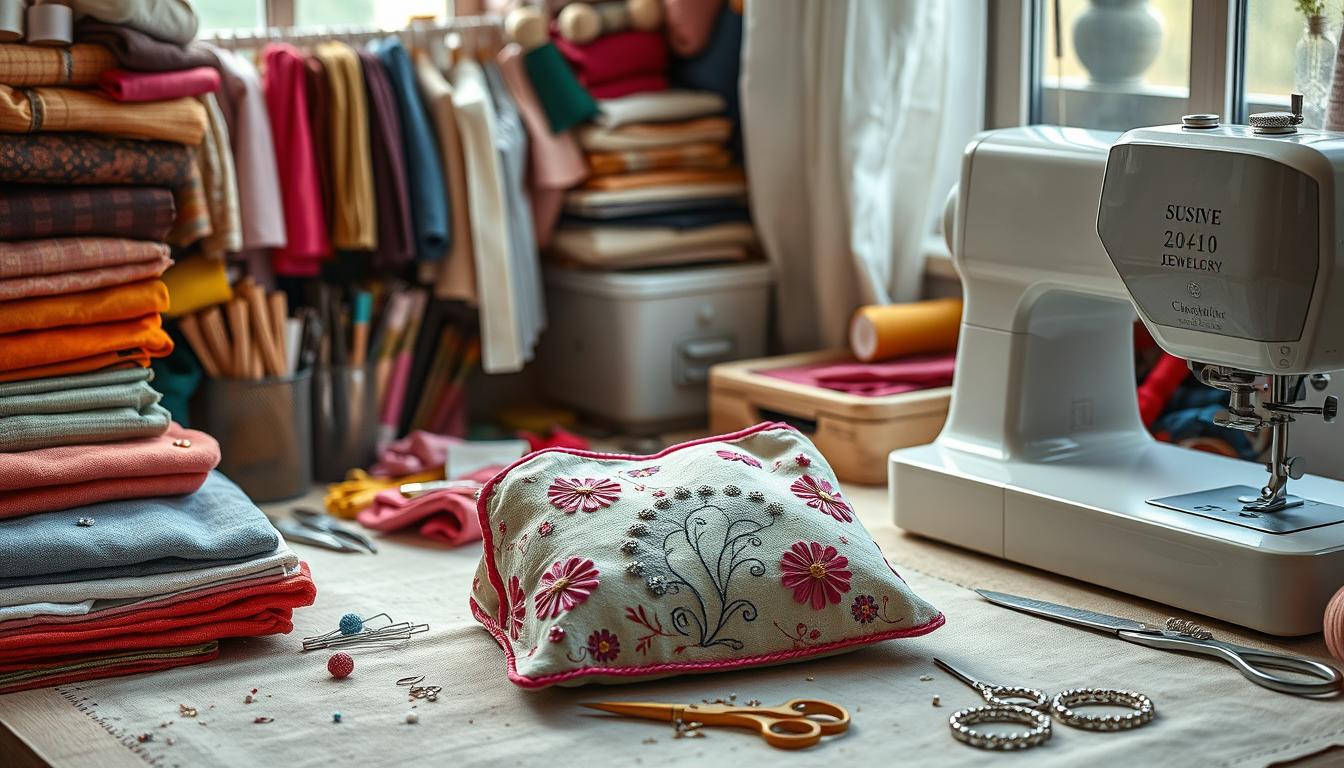
Making a DIY jewelry pouch is a great start for beginners in sewing. These projects are not just useful but also teach basic sewing skills. You’ll learn to stitch pockets, sew curves, and make casings3. Plus, they can be done in under an hour, boosting your sewing confidence3.
To make a jewelry organizer, you’ll need fat quarters, lightweight interfacing, fusible foam, and satin cording3. These materials ensure a quality finish and are easy for beginners. You’ll also need Freezer Paper and Frixion Pens for precise cutting and marking3.
This project is great for making personalized gifts, like for Mother’s Day. Adding personal touches, like embroidery with perle cotton thread, makes it extra special4. The design features eight spokes around a center circle, creating neat pockets for jewelry4.
Using different circle sizes, like a 14” outer and a 9” inner circle, adds depth and function to the pouch4. The prep and alignment of these circles make the pouch sturdy and attractive.
Lastly, the project teaches important finishing techniques, like edge stitching and making drawstring channels4. These ensure the pouch looks and works well for organizing jewelry.
Jewelry Pouch Pattern: Materials and Tools
To make a beautiful jewelry pouch, we need the right sewing materials and tools. Knowing what jewelry pouch materials and essential sewing tools to use makes sewing fun and easy.
Materials Needed
We’ll use two fat quarters of good quilting fabric. One will be Color A, and the other Color B. Each fat quarter is 18 x 22 inches, enough for two pouches5. We also need matching thread and two 18-inch ribbons or strings for the drawstrings5.
We’ll add lightweight interfacing for extra stability. We need two 1″ x 1″ squares of it6. Fray Check can make the fabric ends last longer.
The pouch has specific sizes: three circles, with the biggest being 14 inches, the middle 9 inches, and the smallest 3 inches for pockets6. It can have four to eight pockets for jewelry5.
The drawstring is made of satin, about 38 inches long. This makes the pouch easy to open and close6.
Tools Needed
First, we need a sewing machine. We also use fabric scissors or a rotary cutter for cutting5. An iron and ironing board are needed for neat seams. We also need pins and a marking tool or chalk for fabric5.
Other tools include a medium safety pin for the drawstring, a ruler for circles, and a bodkin or safety pin for threading7. Air-erasable markers and pinking shears are optional but helpful6.
With all these sewing materials and tools, we can make a useful and stylish pouch. Following the steps and using the right tools makes sewing a pouch easy and rewarding5.
Step-by-Step Sewing Instructions
In this DIY sewing tutorial, we’ll guide you through making a jewelry pouch. Follow these steps for a professional finish on your hand-crafted pouch.
- Cutting the Fabric: Cut circles from two fabrics using a rotary cutter. The larger circle should be 15″ in size. The smaller circles should match the details given8.
- Transferring Markings: After cutting, use a water-soluble marker to mark the fabric. This helps with precise sewing5.
- Preparing the Fabric: Iron the fabric to remove wrinkles. This makes sewing easier5. Use Fray Check on the edges to prevent fraying.
- Sewing the Circles Together: Sew the right sides of the fabric together with a 1cm seam. Use a stitch length of 2.5-3.5mm9. Backstitch at the start and end to secure.
- Creating Eyelets: Place 16 eyelets evenly around the fabric circles’ edges8. Make sure they are well-reinforced.
- Adding Drawstrings: Thread an 18-inch ribbon or cord through the eyelets with a safety pin5. This drawstring makes opening and closing the pouch easy.
By following these steps, you’ll get neat, professional results. Always backstitch for durability and pin accurately for alignment. Share your jewelry pouch online with hashtags to connect with other craft lovers9.
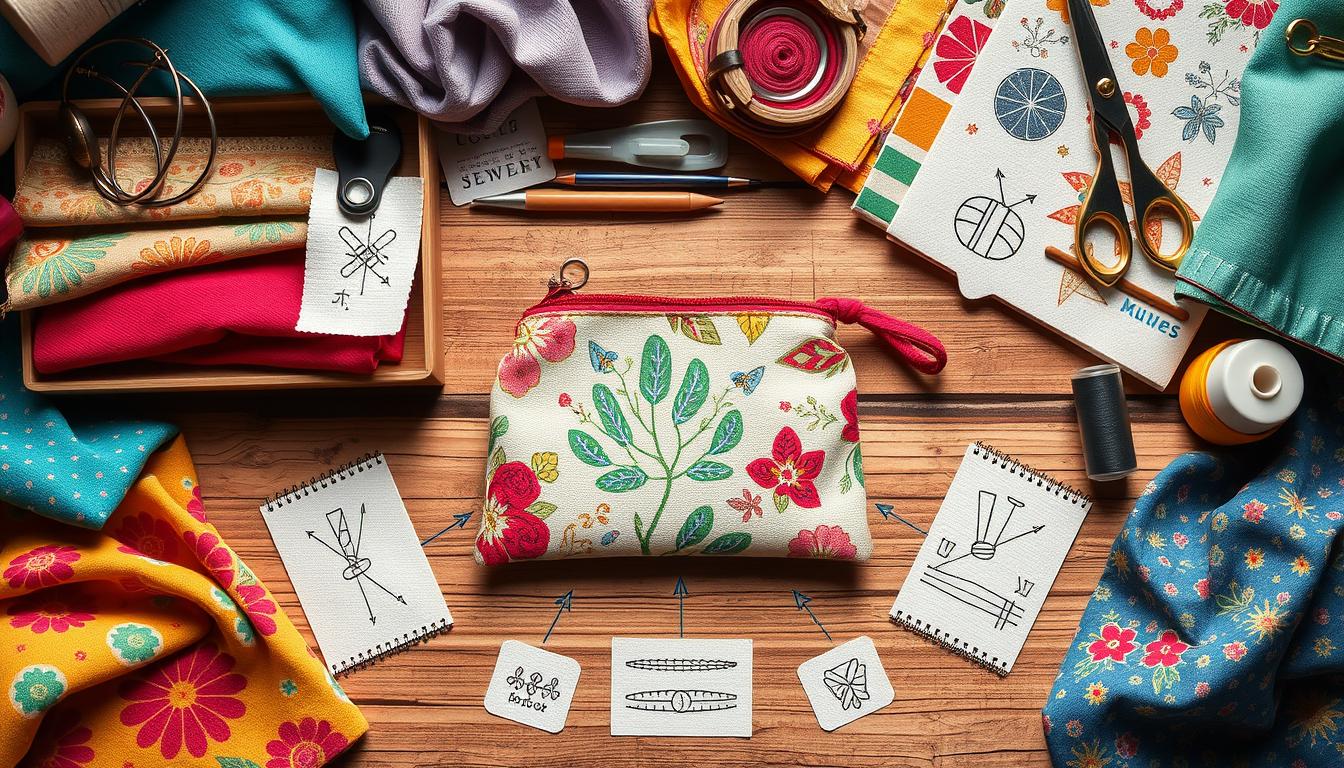
Customizing Your Jewelry Pouch
When making a jewelry pouch, think about how it looks and works. We’ll show you how to make a pouch that’s both beautiful and useful.
Selecting Fabric
The fabric you choose greatly affects your pouch’s look and feel. Quilting cottons are great because they’re strong and come in many patterns. For a stiffer pouch, try canvas or linen.
Materials like suede, microfiber, and velvet from To Be Packing add luxury. They ensure your pouch is well-made and looks good10.
There are many colors to choose from, like blue, grey, and pink10. This lets us make a pouch that’s truly our own.
Adding Extra Features
Adding special touches makes your pouch even better. Internal pockets help keep jewelry organized. Decorative stitches or embroidery, like a name on a circle, add a personal touch11.
For a fancy look, add beads or sequins. To Be Packing helps with design and making, so you can customize and get it fast10. They also have many designs ready to go, like suede pouches in different sizes12.
By choosing the right fabric and adding special features, we can make a pouch that’s both lovely and practical. We invite you to try these ideas and enjoy making your own sewing projects.
Conclusion
We hope our guide on making a drawstring jewelry pouch has inspired you. This DIY project is not just useful but also shows off your skills. You’ve learned to cut fabric, sew circles, and finish with satin cords.
Finishing this project is very rewarding. It’s great to see how your pouch keeps your jewelry organized. The design has eight small pockets for small items and a big space for larger ones. It’s perfect for carrying in purses or carry-ons13.
It’s easy to make because you only need a little fabric13. This means you can quickly make a pouch.
We suggest making your pouches unique by using different fabrics and adding embellishments like embroidery. This makes your work special. Sharing your pouches online can inspire others and help you get feedback and new ideas.
We encourage you to share your sewing journey and join a community of makers. This way, you can show and discuss your creations with others.
FAQ
What type of fabric is best for sewing a jewelry pouch?
Quilting cotton is a great choice for its patterns and durability. Canvas or linen can also work for a more structured pouch. Pick a fabric that’s both strong and looks good.
Can I add extra features to personalize my jewelry pouch?
Yes, you can! Add internal pockets for better organization. Use decorative stitches for looks. You can also add beads or embroidery for a unique touch.
What materials do I need to create a jewelry pouch?
You’ll need two fat quarters of quilting fabric, thread, and ribbon or cord for drawstrings. Fray Check can help secure fabric ends for extra durability.
What tools are needed to sew a jewelry pouch?
You’ll need a sewing machine, iron, and ironing surface. Also, fabric scissors, pins, a marking tool, and a safety pin for the drawstring.
Are there any beginner-friendly tips for sewing a jewelry pouch?
Yes! Make sure to align and pin fabric well. Backstitching is key. Use sewing machine or hand techniques for clean edges. These tips help beginners look like pros.
How do I ensure my jewelry pouch has a professional finish?
Press seams well before sewing. Use backstitching at the start and end. Make sure edges are neat by trimming or using a zigzag stitch.
Can this jewelry pouch be used as a travel organizer?
Yes, it’s great for travel. Its small size and secure drawstring keep jewelry safe and organized while traveling.
Where can I share my completed jewelry pouch project?
Share your project online, on crafting forums, social media, or blogs. It inspires others and gets you feedback.
Post time: Dec-29-2024
.png)
.png)
.png)
.png)

.png)