
The steps to make a jewelry box
A delicate jewelry box is not only protects jewelry from damage, but also reflects the owner’s personality and aesthetics
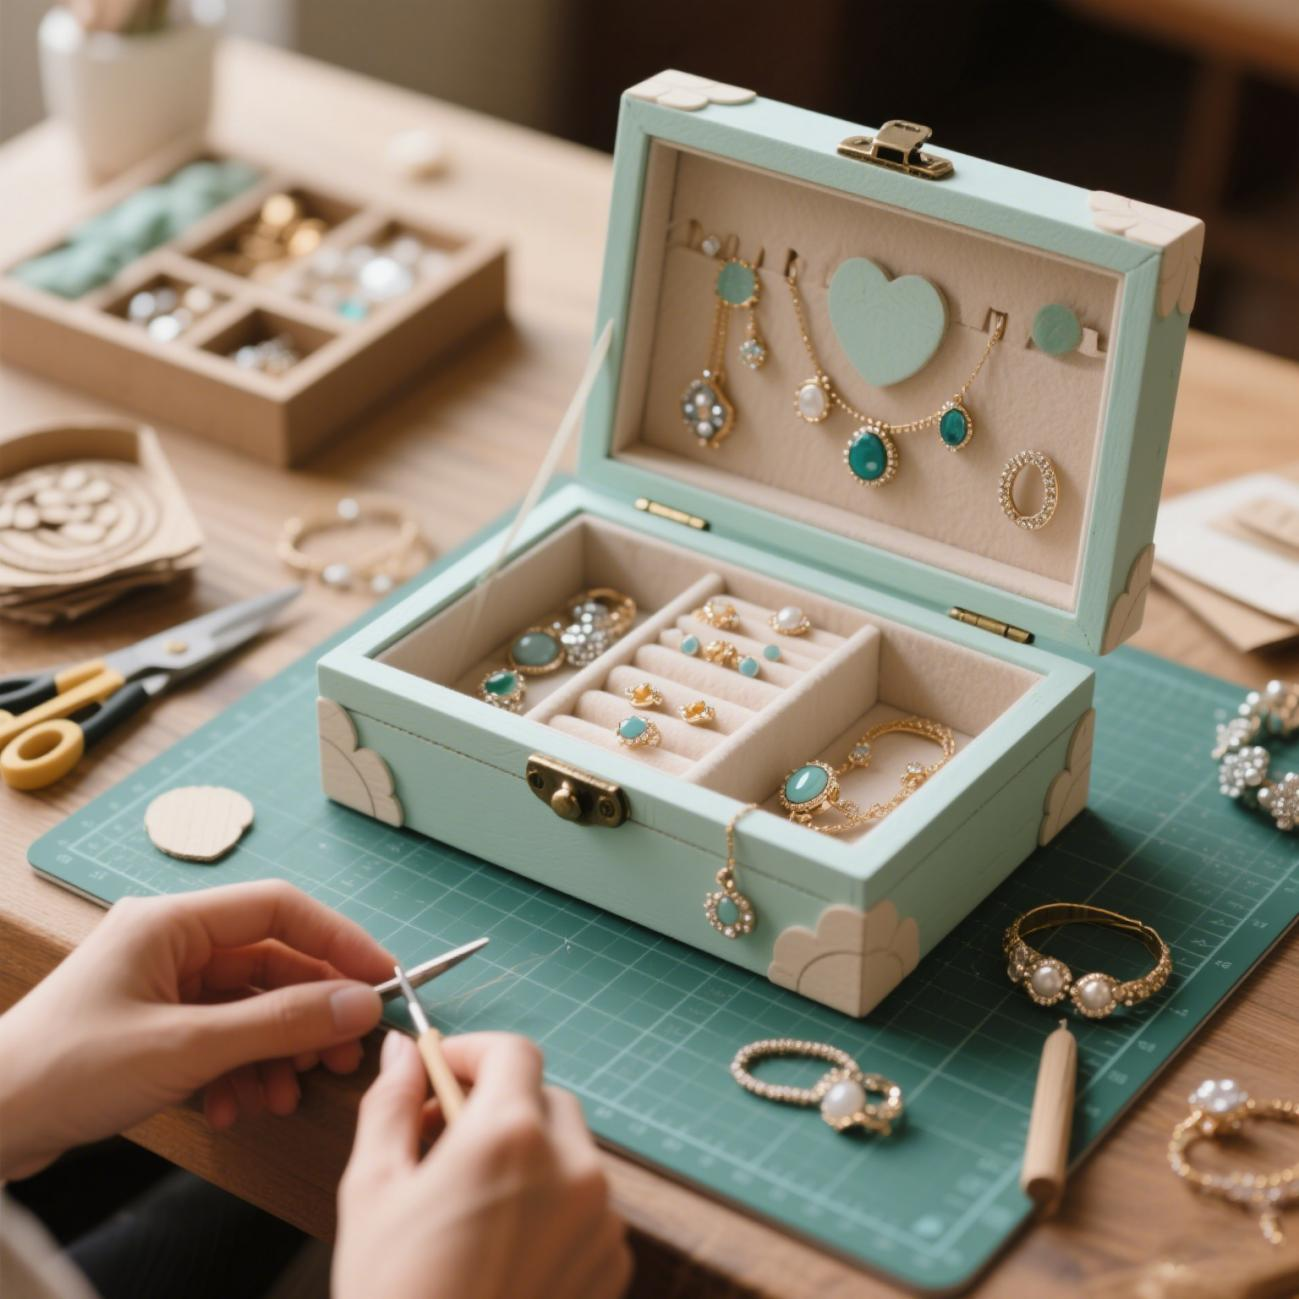
If you enjoy making jewelry boxes by hand, it is a very meaningful thing.
This article will take you through the entire process of making a jewelry box in detail, from preparing the jewelry box materials to the final display. The whole process will be explained in detail, making it easy to get start!
Preparation materials before making jewelry boxes
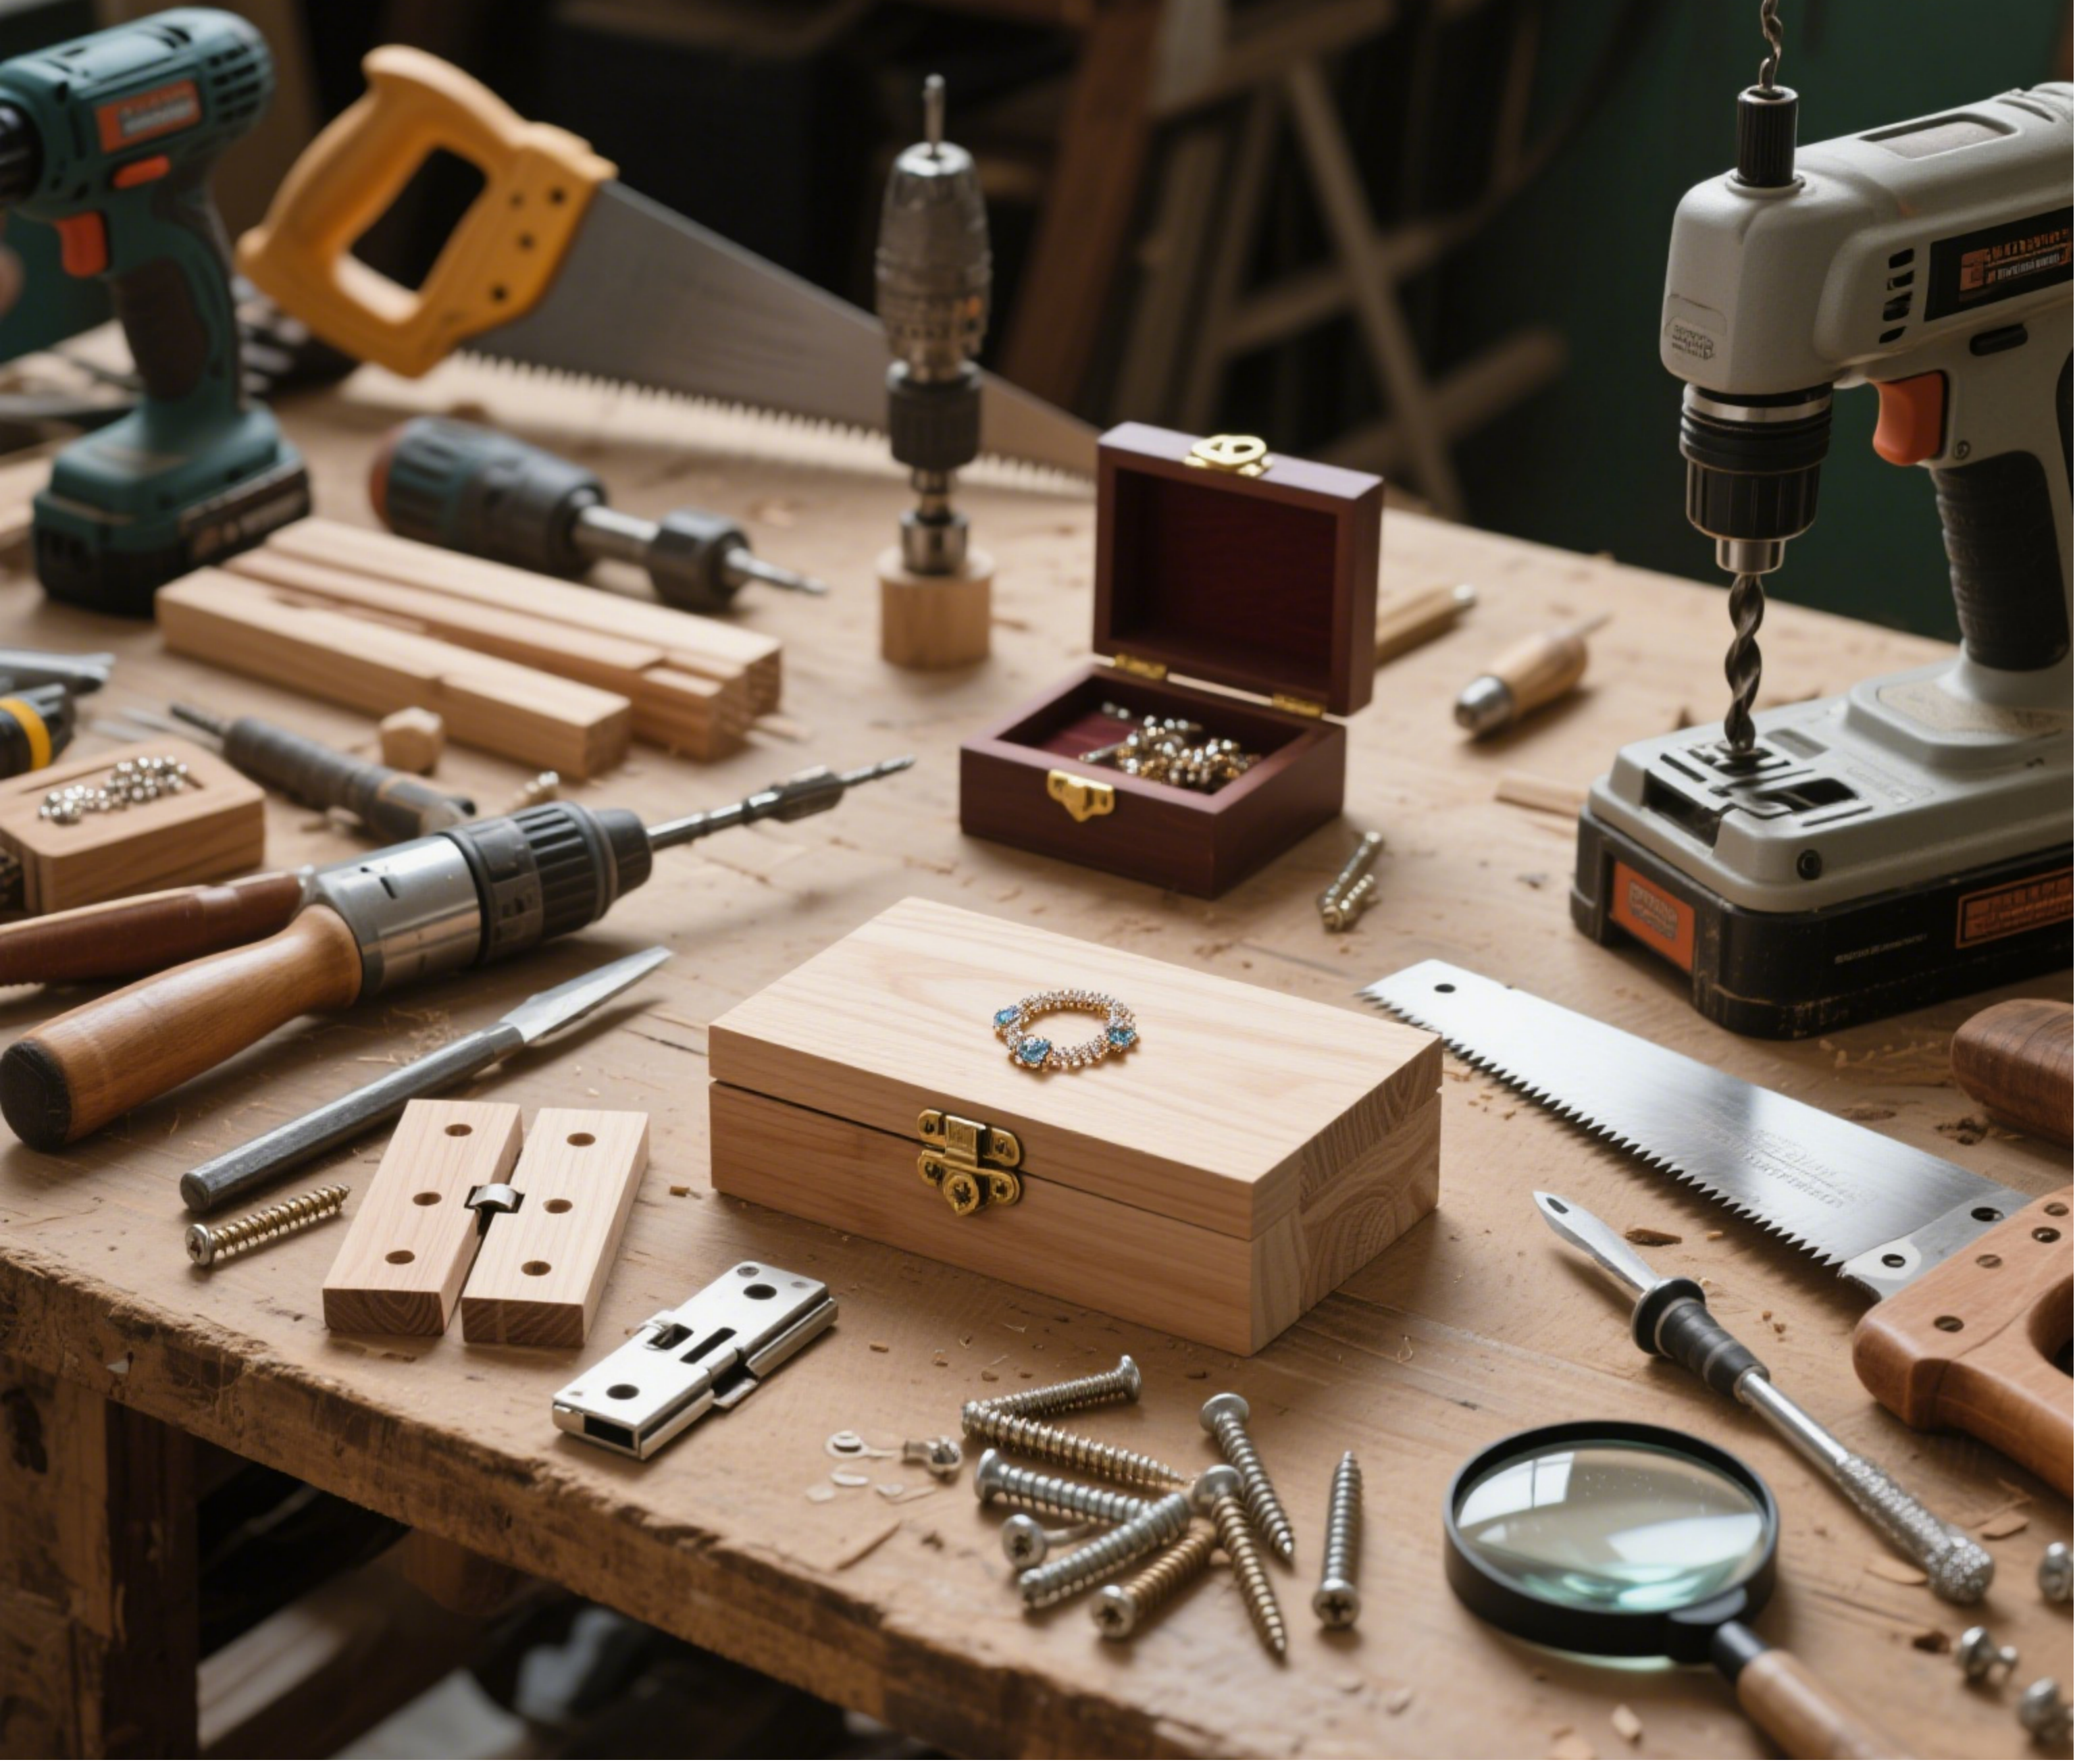
First, use the wood for the jewelry box
As the main structural material for jewelry boxes, we recommended to use cherry wood or walnut wood with delicate texture and easy polishing. And we recommended to choose a thickness of 8mm~12mm, which can ensure durability and facilitate processing.
Before making a jewelry box, nails and screws need to be prepared
Key accessories used to fix the structure of jewelry boxes. If you want a more sturdy structure, you can also use corner code assistance. we recommended to choose stainless steel material for better rust prevention and durability.
Jewelry box manufacturing requires the use of drilling machines
Used for punching holes and assembling accessories such as screws or handles, it is an important tool in the entire jewelry box assembly process.
Saws are also used in the manufacturing of jewelry boxes
Used to cut wood into the shape and size required for design, manual saws, electric saws, or wire saws can be selected, depending on personal experience and precision requirements.
Manufacturing jewelry boxes may also require magnifying glasses
It can help you observe more clearly when decorating or inspecting flaws in jewelry boxes, which helps improve overall completion.
Design of jewelry box
A reasonable design is the key to the success or failure of a jewelry box. The more meticulous the early stage, the smoother the later manufacturing.
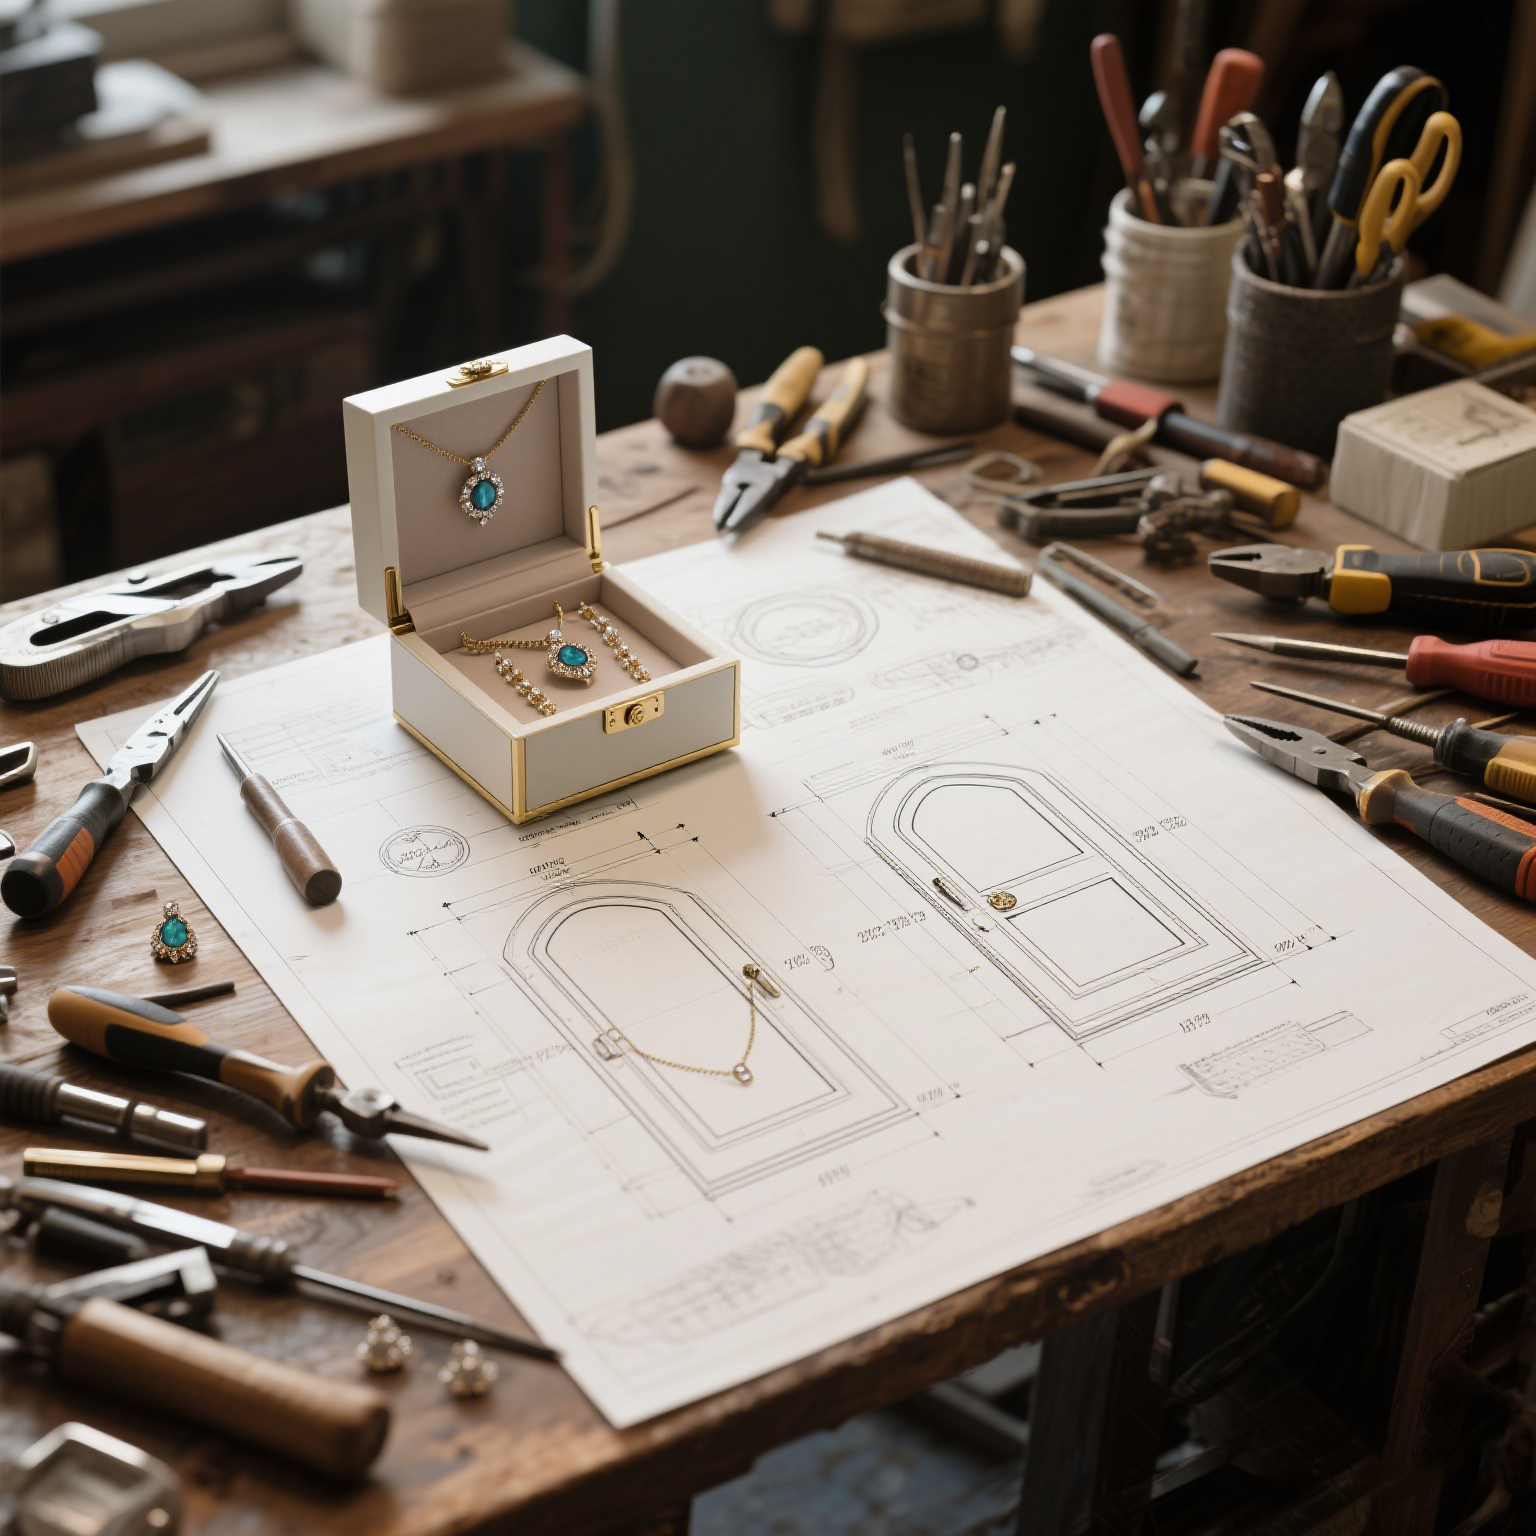
Design a blueprint for a jewelry box on paper
First, sketch out the appearance and structure of the jewelry box, including the arrangement of the top, base, side panels, and internal compartments. The drawing of the jewelry box should indicate details such as size and connection method as much as possible.
Determine the size and shape of the jewelry box
Determine the size of the jewelry box based on the type of jewelry you commonly use. If you want to store necklaces, earrings, rings, etc., then we recommended to set up multiple compartments.
Draw the shape and position of the jewelry box door
If you plan to make a jewelry box structure with drawers or small doors, be sure to clearly indicate the opening position in the drawing for easy assembly later.
Cutting the components of the jewelry box
With the drawings and materials for manufacturing the jewelry box, we can manually cut out the components of the jewelry box.
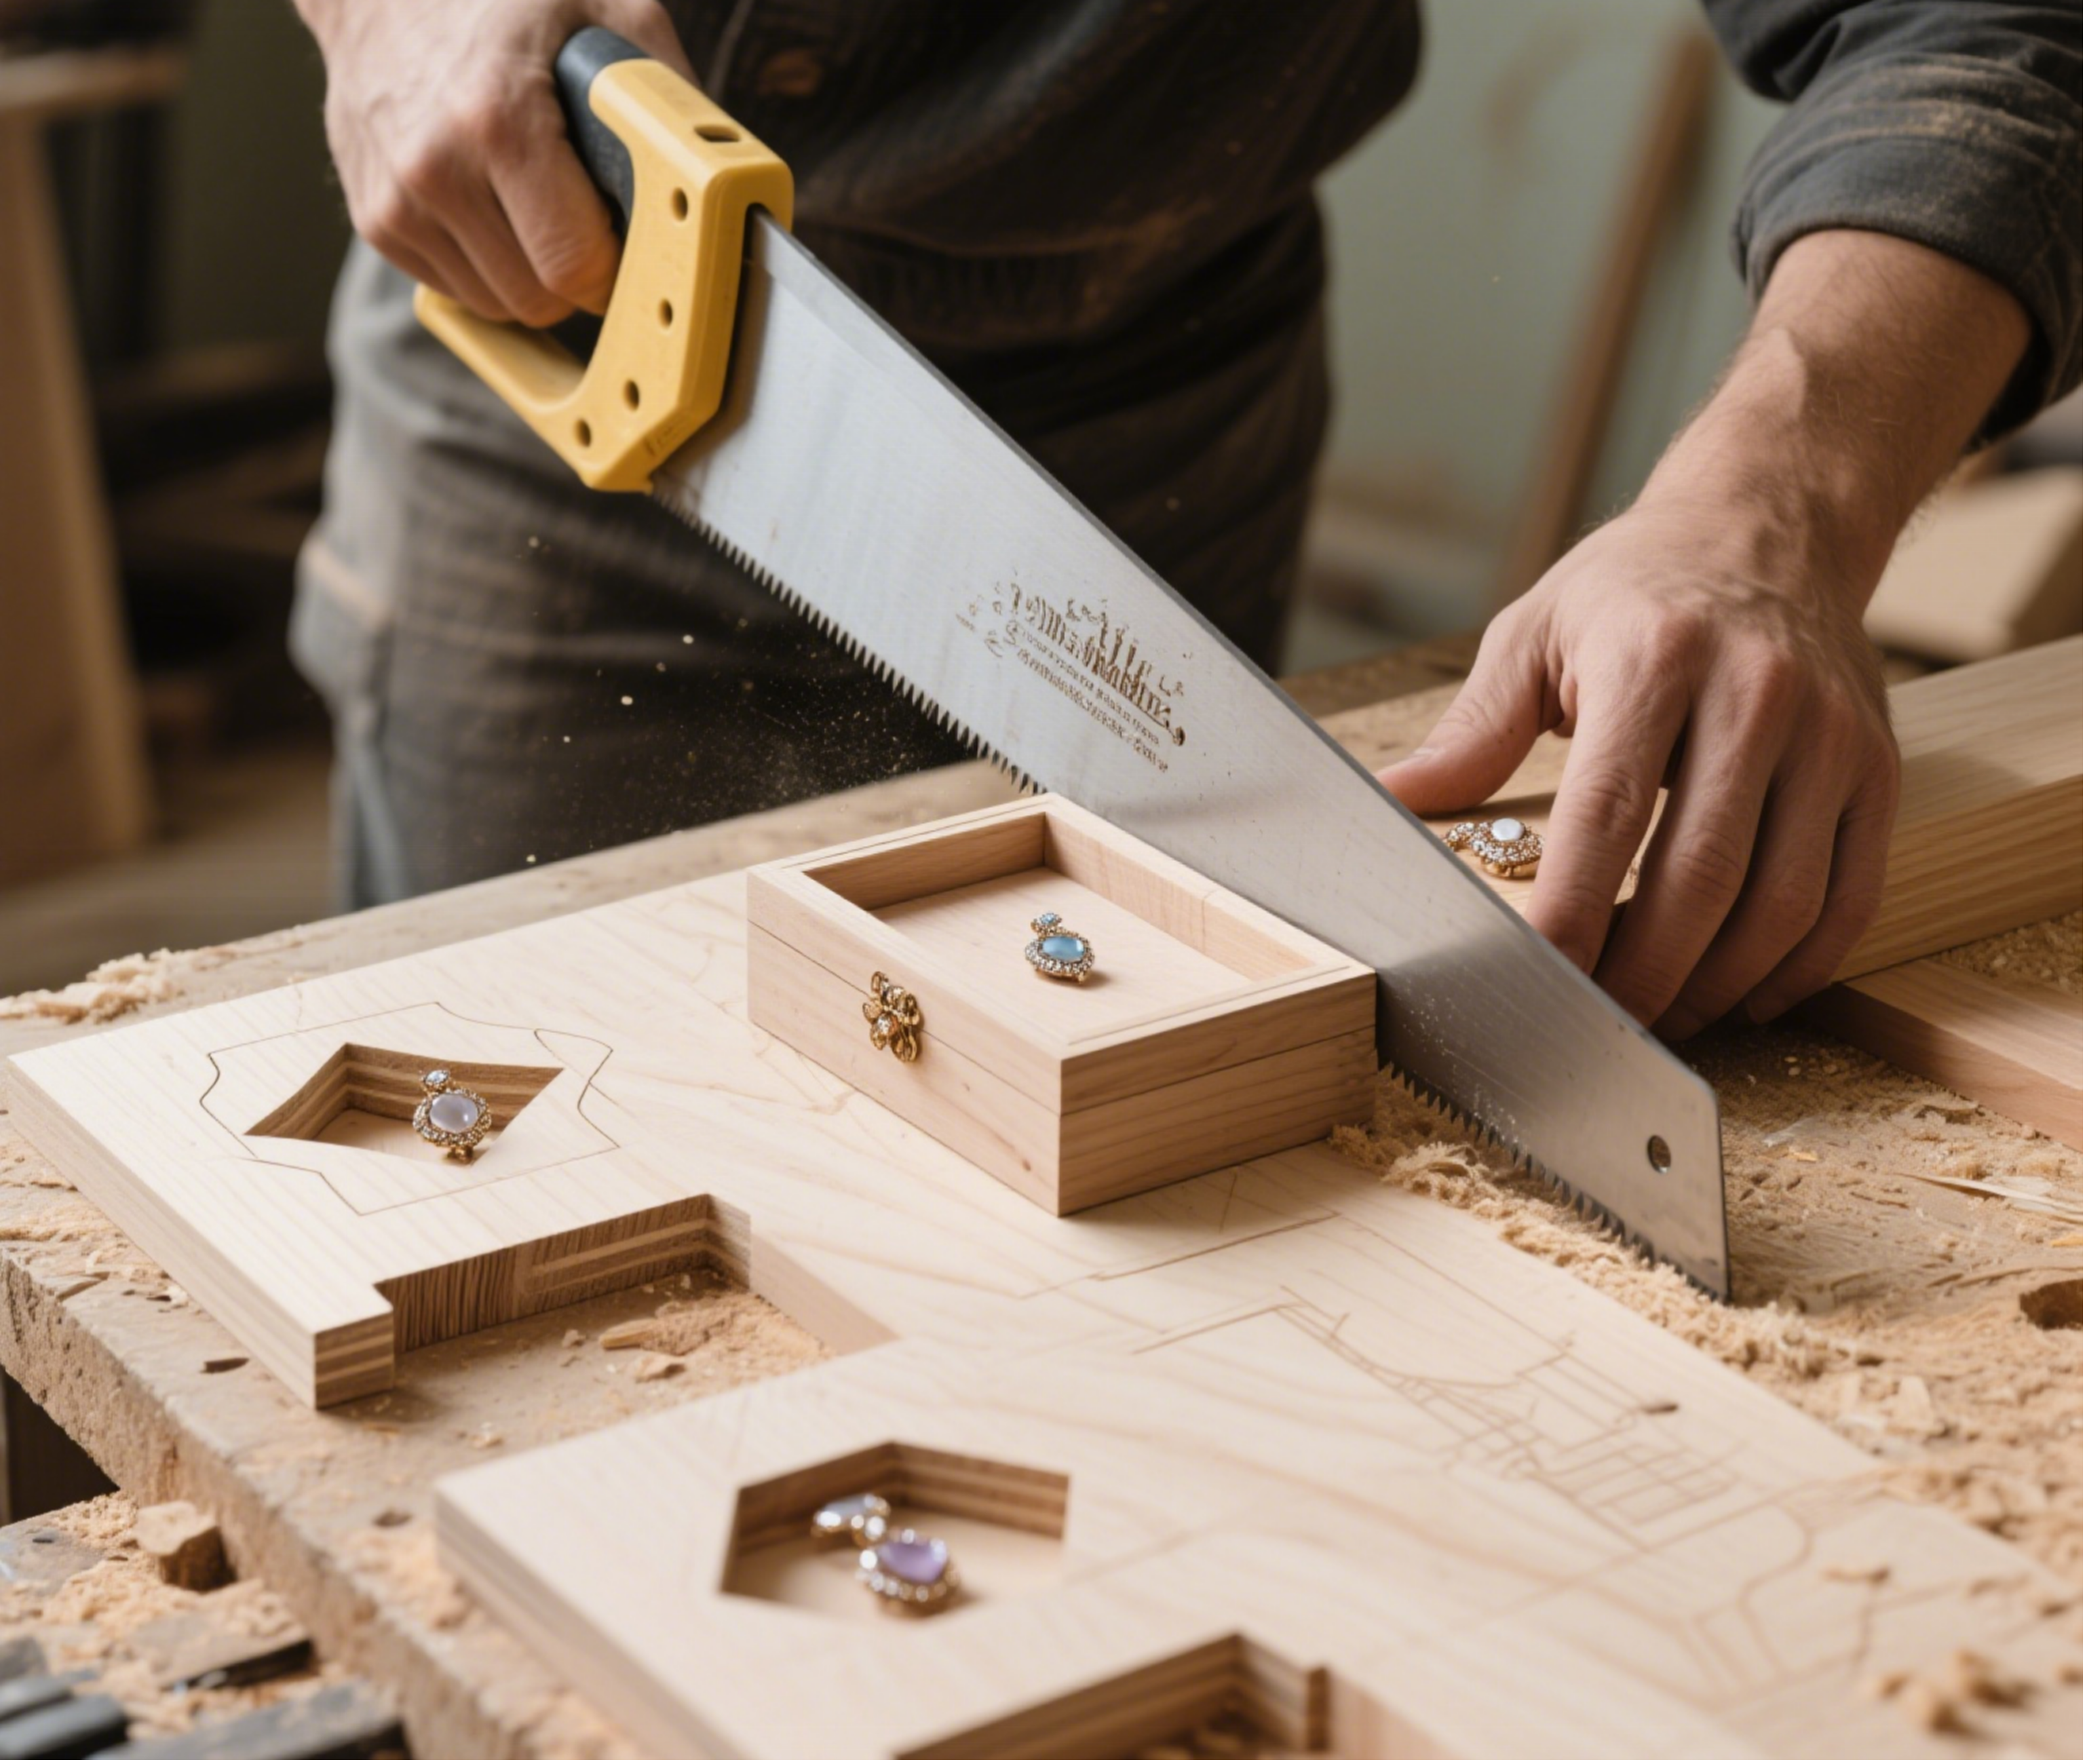
Use a saw to Cut the wood into the size and shape required for the jewelry box according to the design
We suggest marking with a steel ruler and pencil first, and then making precise cuts along the dimensions of the drawing of the jewelry box.
Ensure that the edges and corners of the jewelry box are straight and consistent in angle
After cutting, we need to check whether the edges of each wooden board in the jewelry box are flat. If they are not consistent, we need to use sandpaper to trim them to ensure that there is no error in the seams during assembly.
Assembly of jewelry boxes
Assembling a jewelry box is the process of turning all components into a complete box.
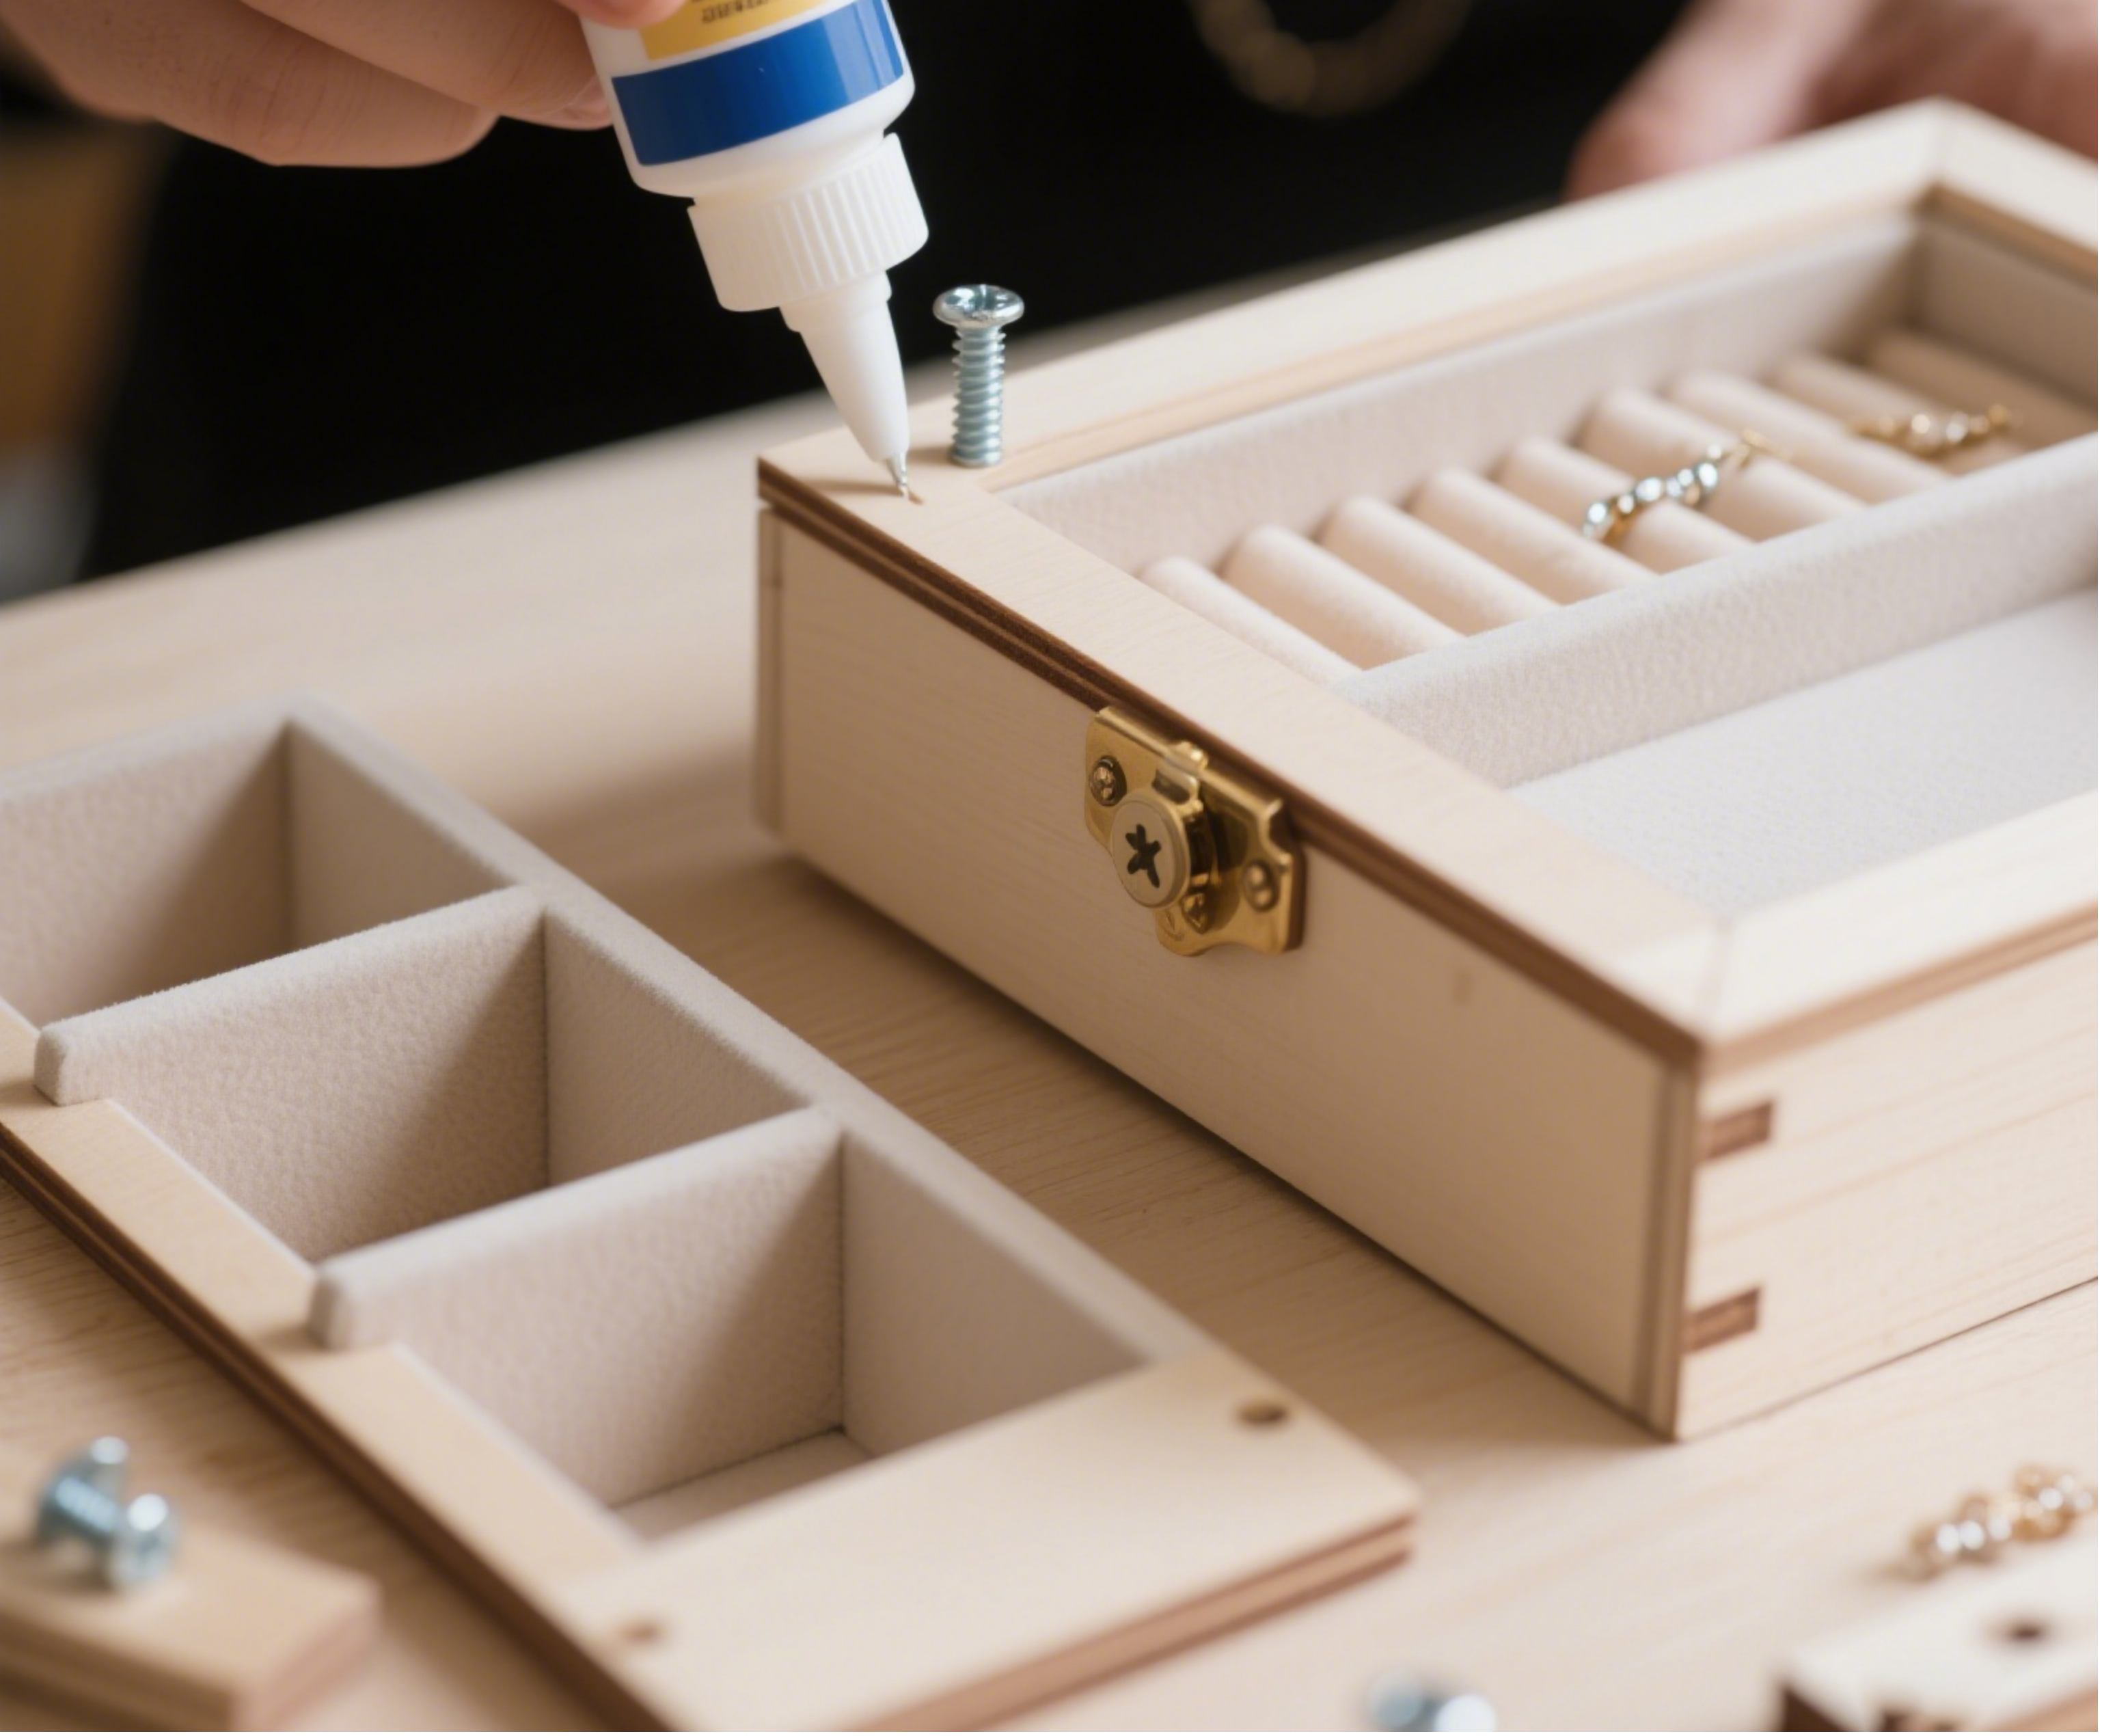
Use glue or nails/screws to fix the various parts of the jewelry box together
Applying woodworking glue and then reinforcing with nails can ensure the structural stability and durability of the jewelry box. Inside structure can also be fixed using glue and compression.
Ensure that the edges of the jewelry box are aligned
During the assembly of the jewelry box, it is necessary to check the seam position multiple times to avoid skewing or gaps that may affect the appearance and use of the jewelry box.
Decorative jewelry box
The beauty of a jewelry box often depends on the decorative details.
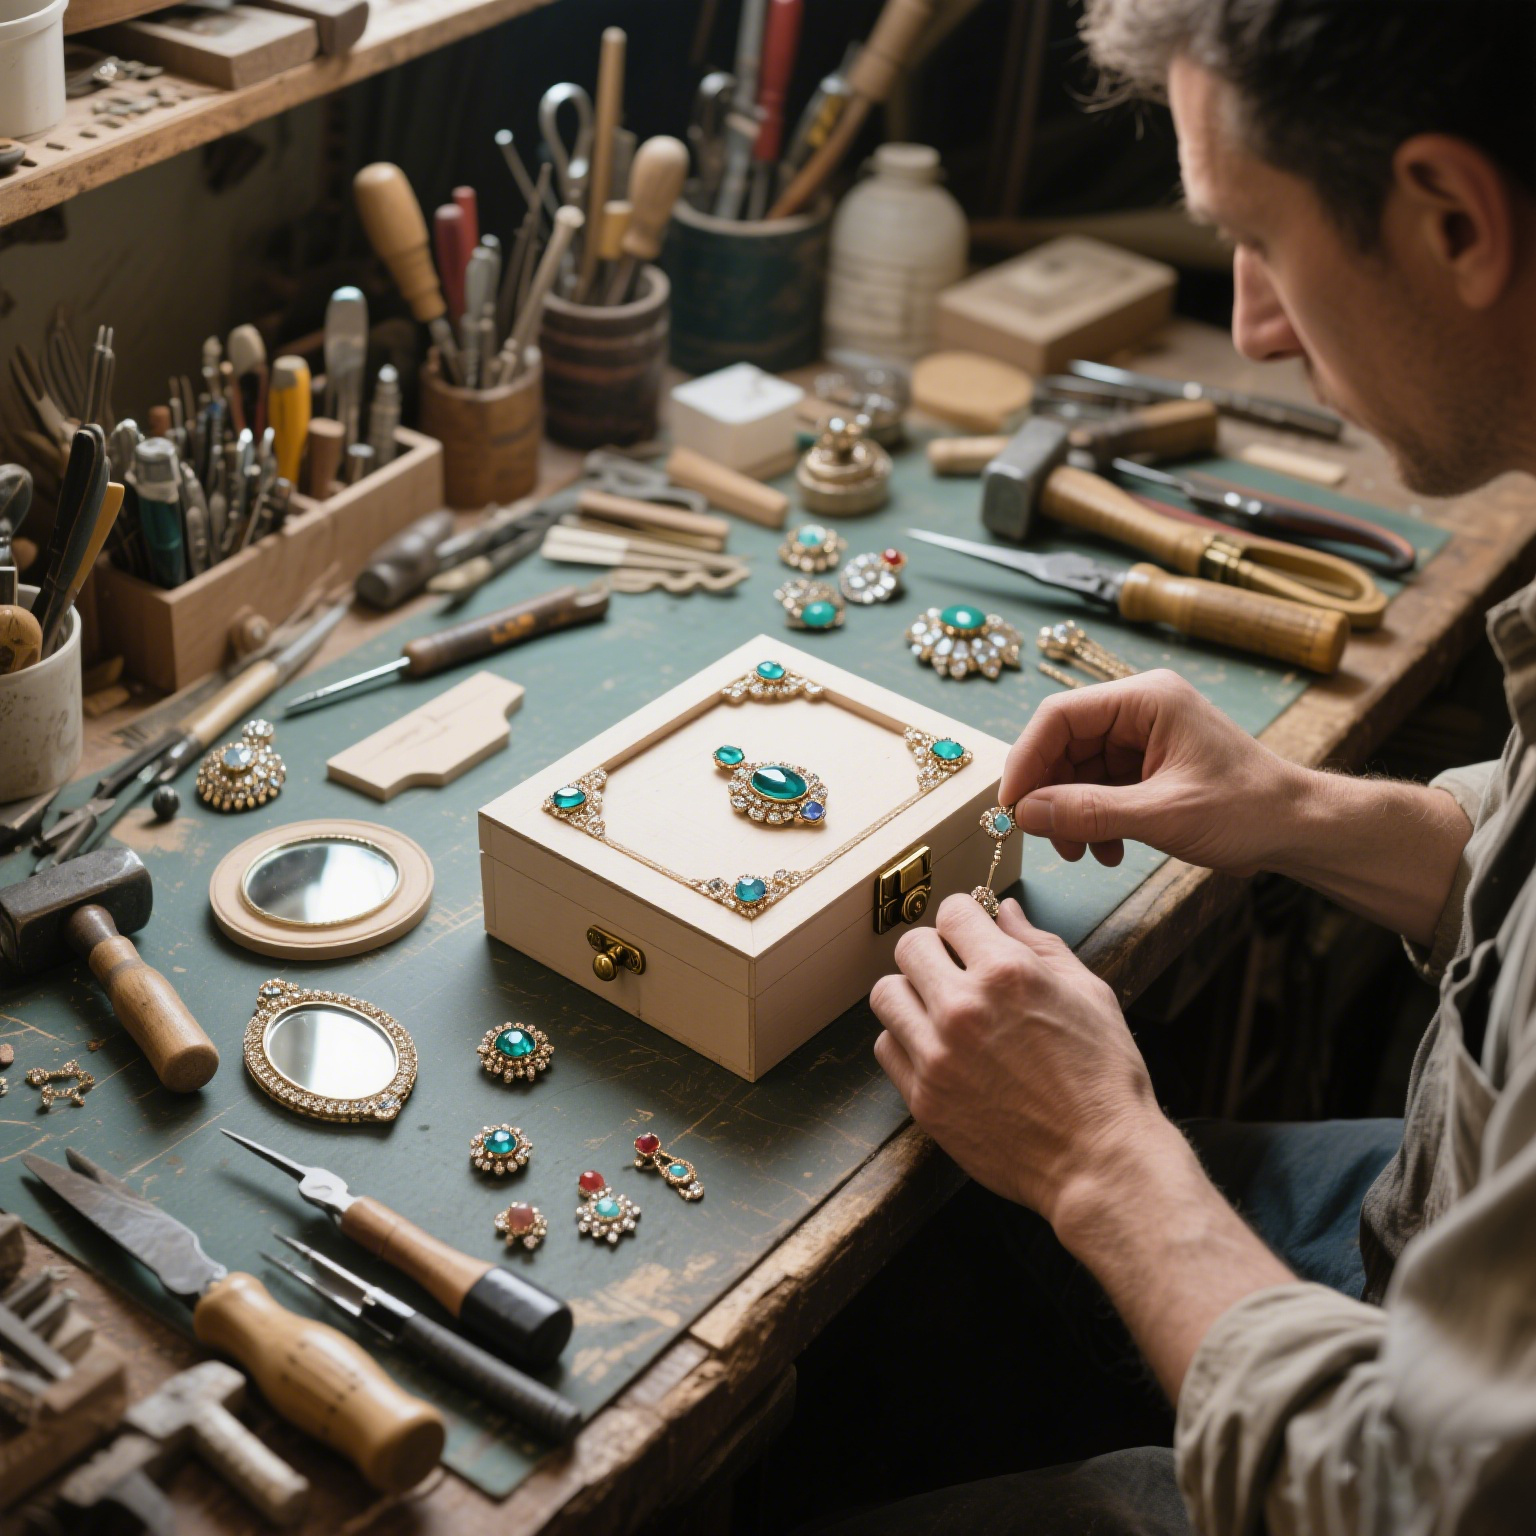
Add jewelry box decorations, such as inlays, mirrors, or small handles
You can choose sequins, rhinestones, metal pieces, vintage mirrors, etc. to decorate jewelry boxes and enhance visual impact. we recommend to use materials that are consistent with the style of the jewelry box, such as metal or leather, for the handle.
Ensure that the overall style of decoration and jewelry box is harmonious
Excessive or inconsistent jewelry box decorations can easily create a sense of clutter. So we recommend to maintain simplicity and coordination to make the jewelry box more textured.
lacquered jewelry box appearance
The color and coating treatment will directly affect the final appearance of the jewelry box.
Use appropriate lacquer to color the jewelry box
Clear varnish can preserve the natural color of the wood in the jewelry box, while colored paint can provide a more personalized appearance. Suggest applying multiple thin coats and covering evenly each time.
You can choose jewelry boxes with glossy or matte surface according to your preferences
Strong glossy texture, suitable for modern style jewelry boxes; Matte is more stable and elegant, suitable for vintage or natural style jewelry boxes.
Add lining to jewelry box
The internal design of the jewelry box is equally important, as it directly affects the protective effect of your jewelry.
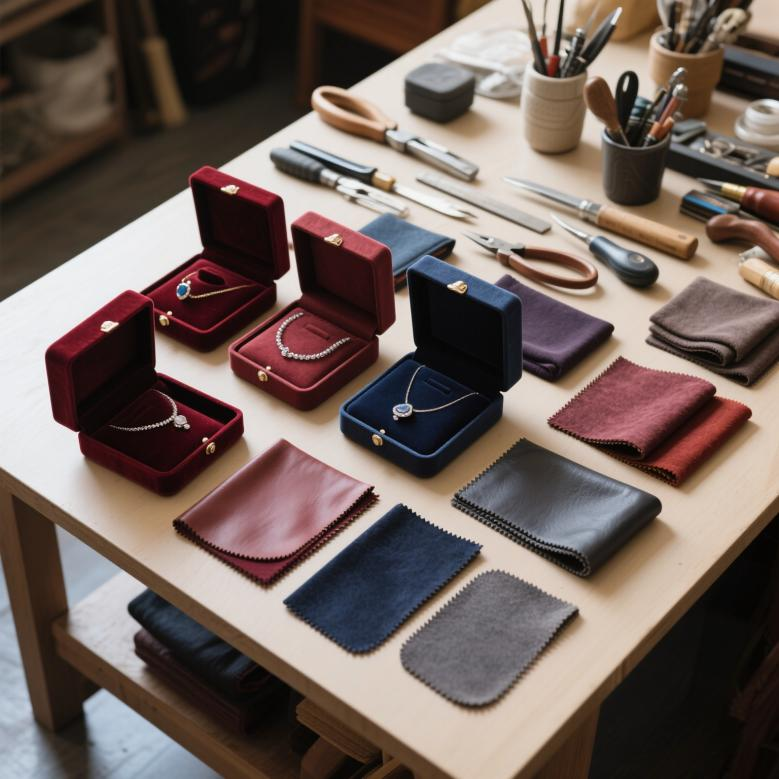
Add soft materials such as velvet or leather inside the jewelry box
The common colors for jewelry boxes are black, burgundy, deep blue, etc., which are both dirt resistant and high-end. we recommend to add sponge pads on the bottom layer to prevent valuable jewelry from directly touching the bottom of the box.
Jewelry boxes protect valuable jewelry from scratches
The velvet or flexible leather inside the jewelry box can prevent metal jewelry from rubbing against each other and being damaged, which is an essential part of manufacturing jewelry boxes.
Beauty treatment of jewelry boxes
The final detail treatment of the jewelry box determines the level of delicacy of the jewelry box.

Wipe the jewelry box to ensure a smooth surface
Use fine sandpaper to lightly polish the jewelry box again, then wipe it clean with a soft cloth to remove dust and fingerprints.
Check the jewelry box for defects and repair it
If uneven coating or raised edges are found on the jewelry box, it should be promptly repaired and repainted to ensure that the finished product of the jewelry box is flawless.
Inspect jewelry boxes
Comprehensively inspect whether the jewelry box meets the expected standards.
Check if the jewelry box meets expectations
Compare the initial design drawings of the jewelry box and check item by item whether the dimensions, structure, and function are consistent with the drawings.
Ensure the proper functioning and exquisite appearance of the jewelry box
Is it smooth to open the hinges of the jewelry box? Is the internal compartment of the jewelry box stable? All of these need to be confirmed before use.
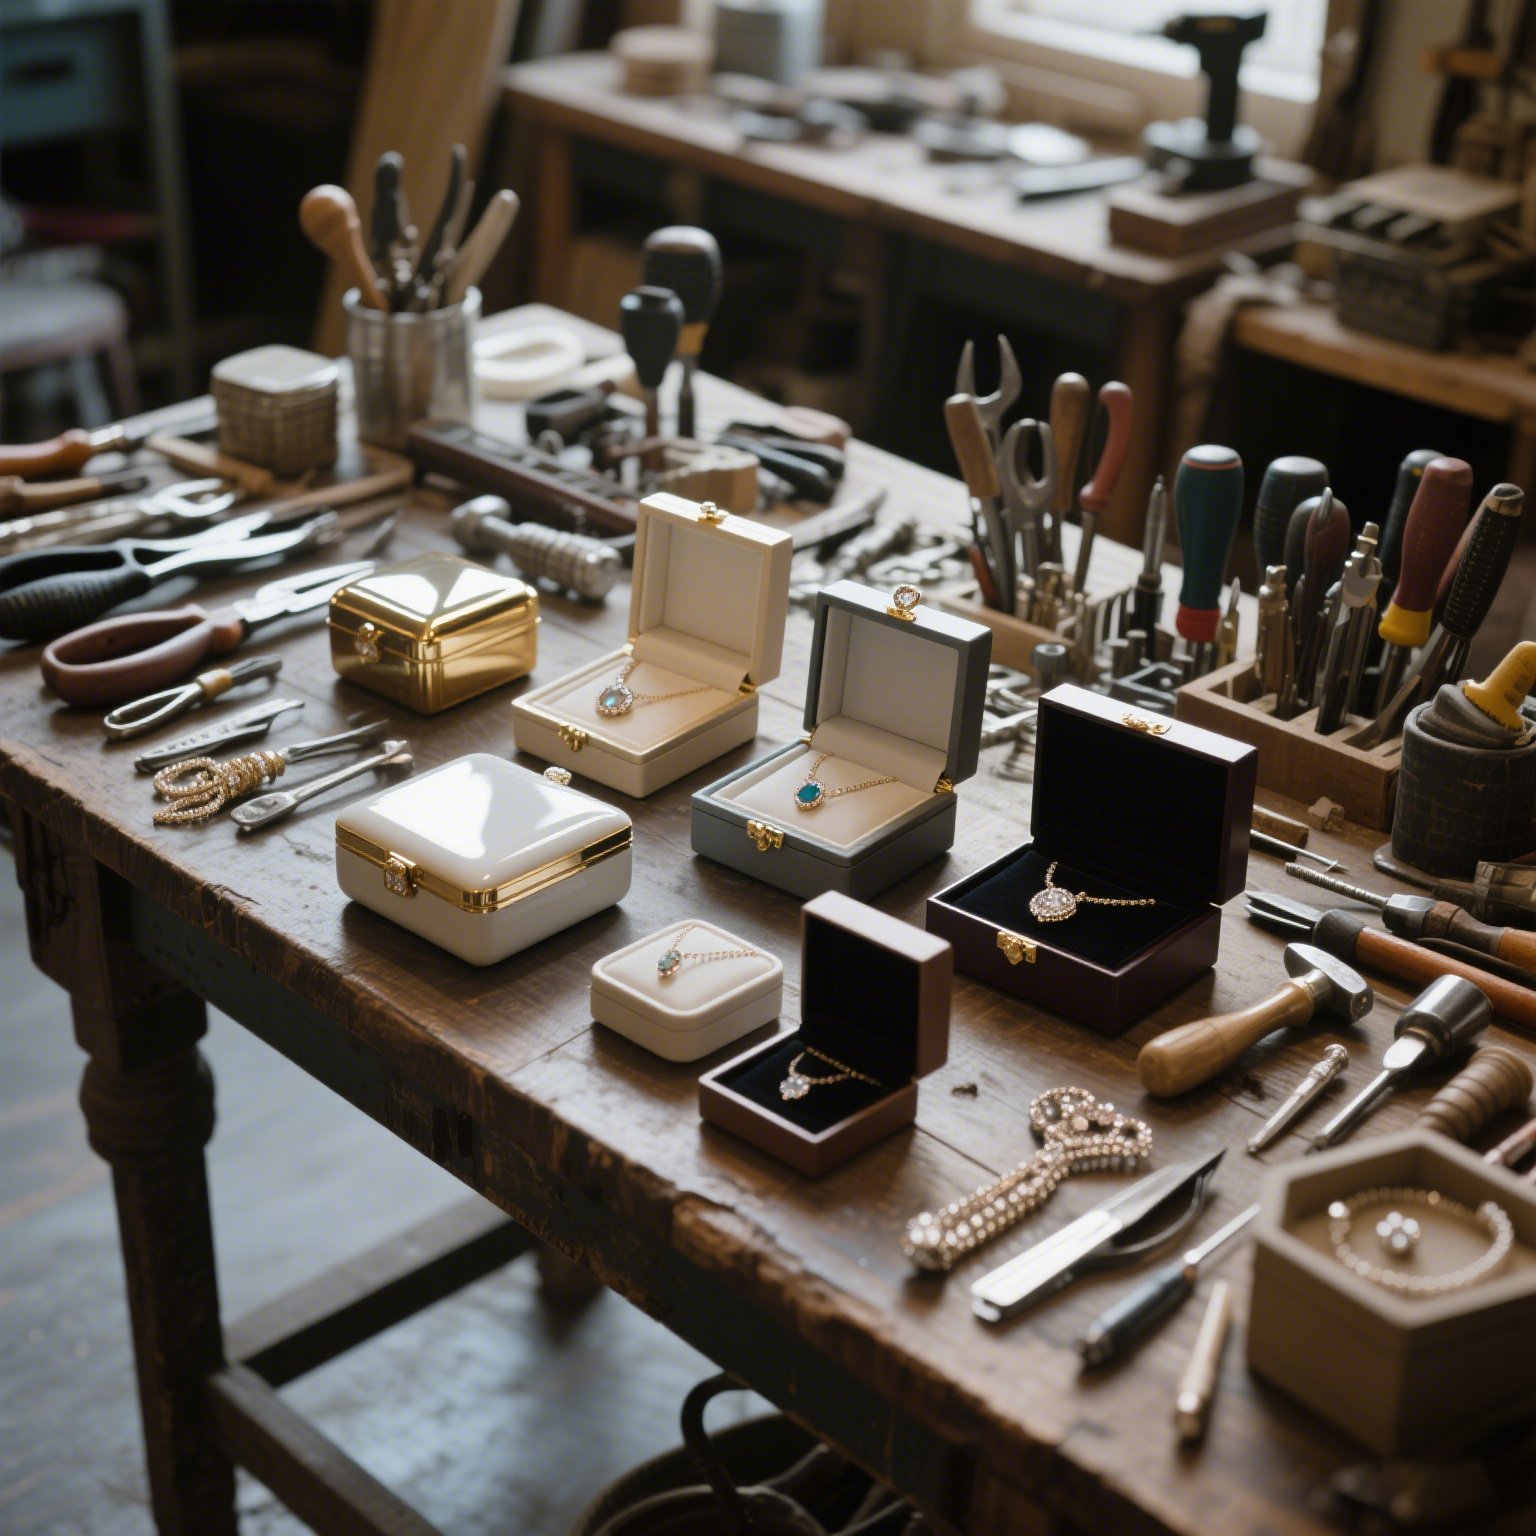
Display jewelry box
After the production is completed, it’s time to showcase the perfect jewelry box result in front of people.
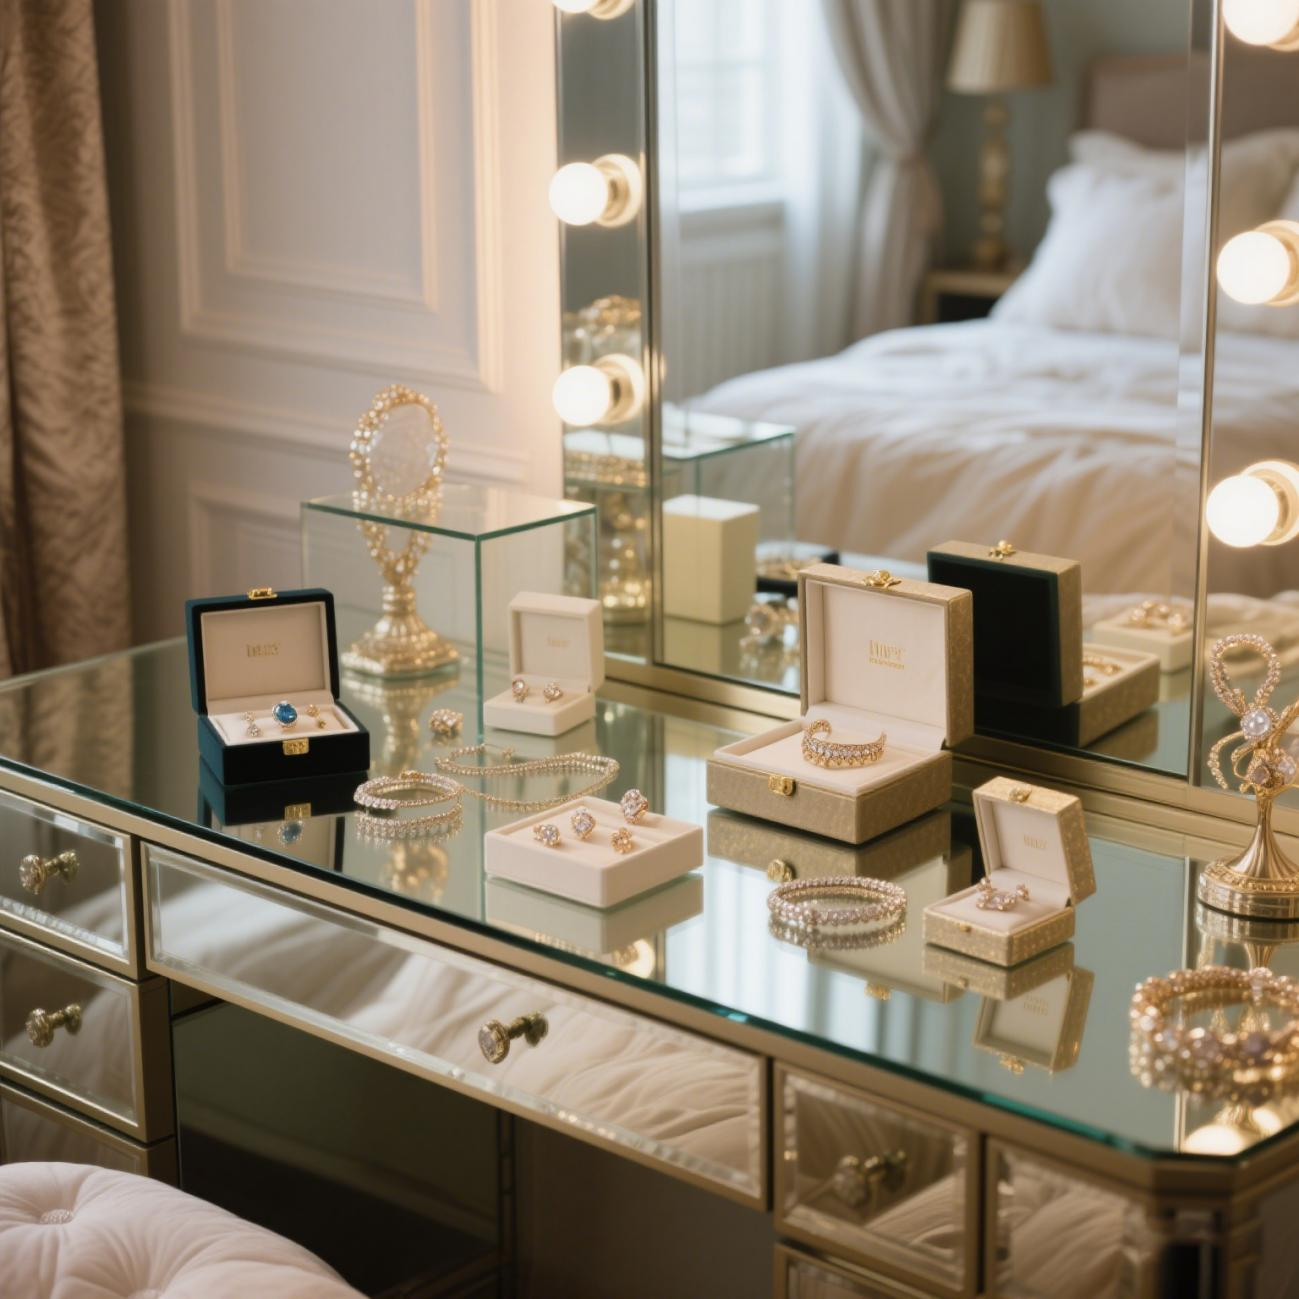
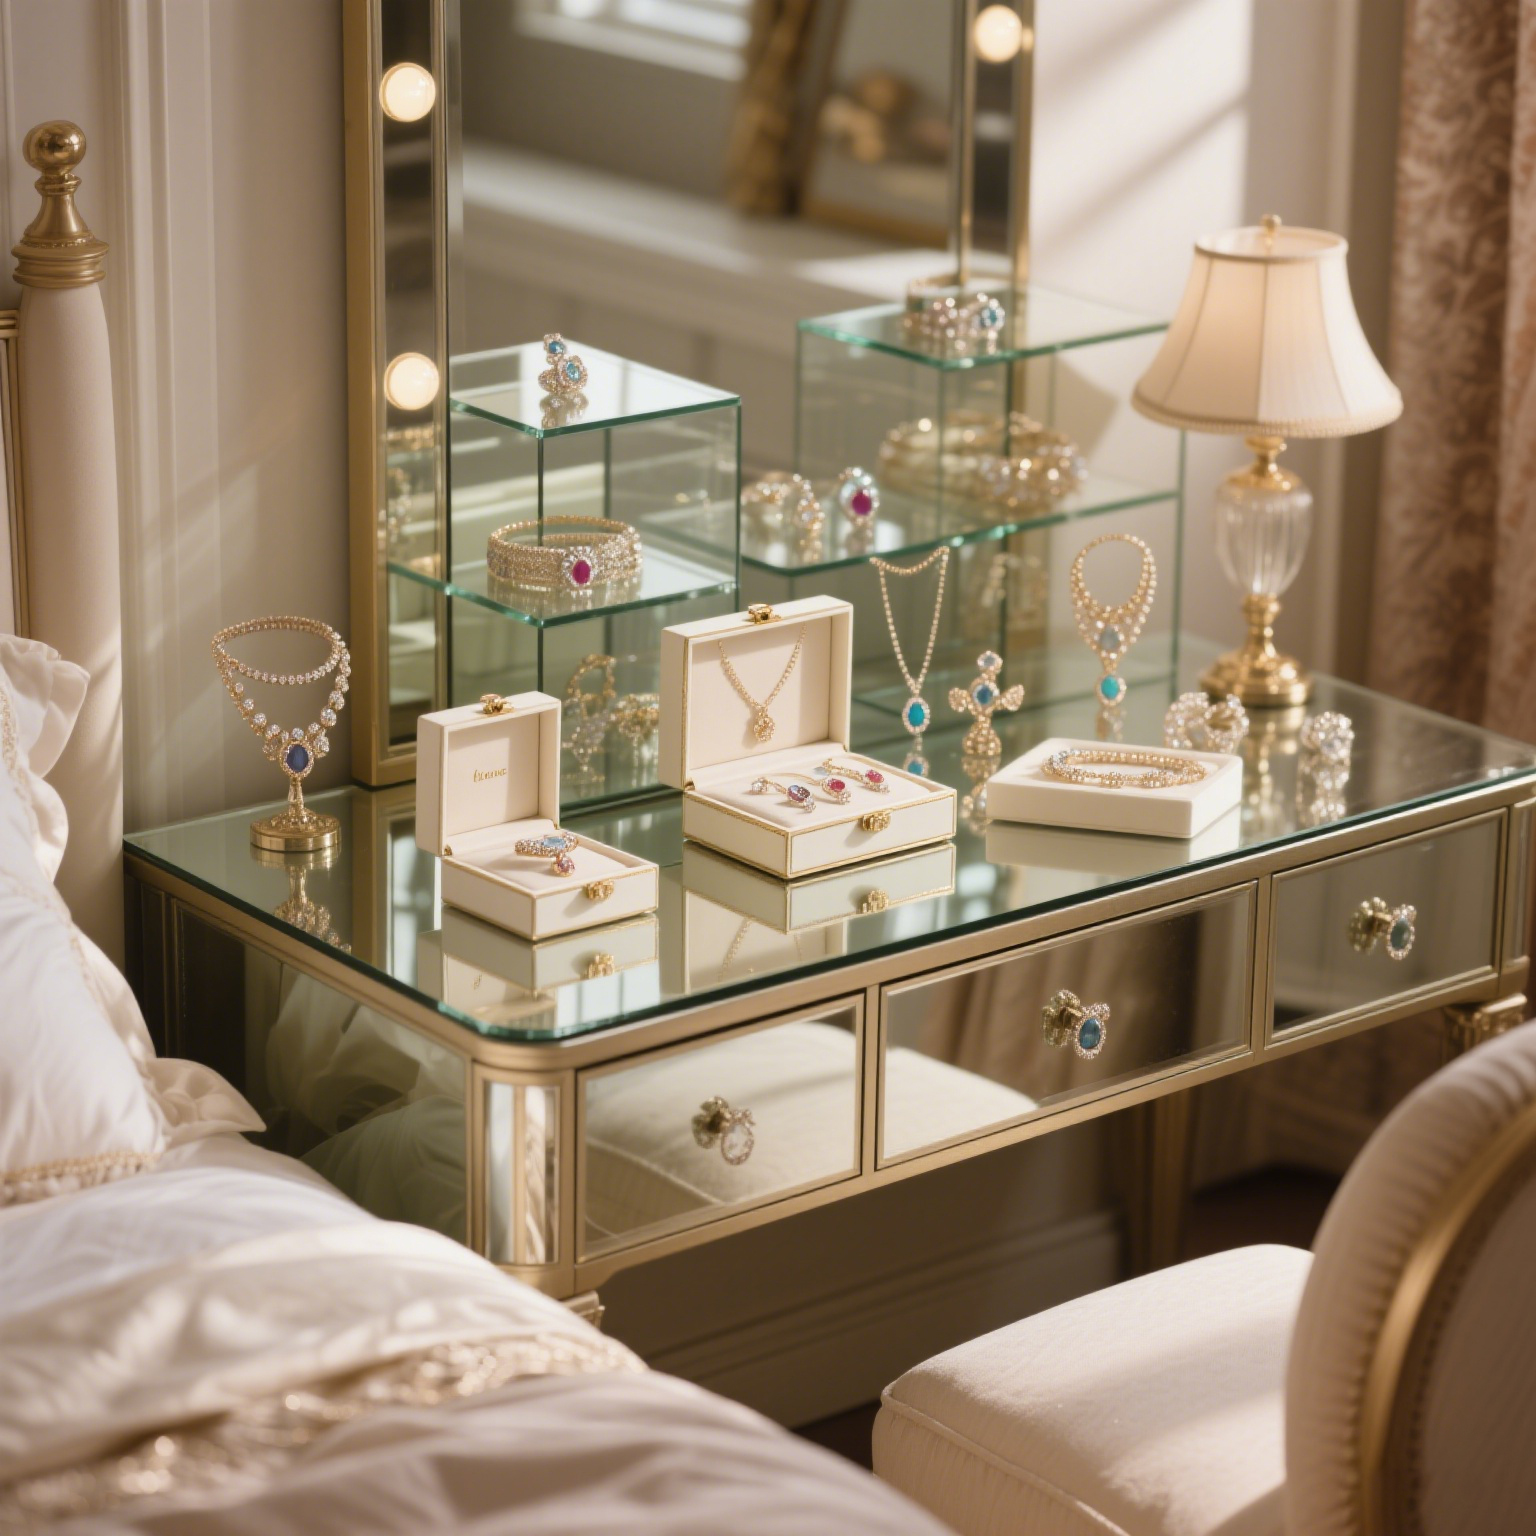
Display the finished jewelry box in a suitable location
Place the jewelry box in a well lit location, such as a bedroom dressing table, glass display cabinet, or even take photos and share them on social media.
Appreciate the achievements of jewelry boxes and also give them to family and friends
Handmade jewelry boxes are not only practical, but also emotionally valuable, making them a unique and heartwarming gift.
Making a jewelry box by hand can not only meets the needs of personalized storage, but also represents creativity and heartfelt expression.
From material selection to finished product display, every step is worth savoring carefully.
Are you ready to personally create an exclusive jewelry box?
Post time: Apr-29-2025
.png)
.png)
.png)
.png)

.png)