
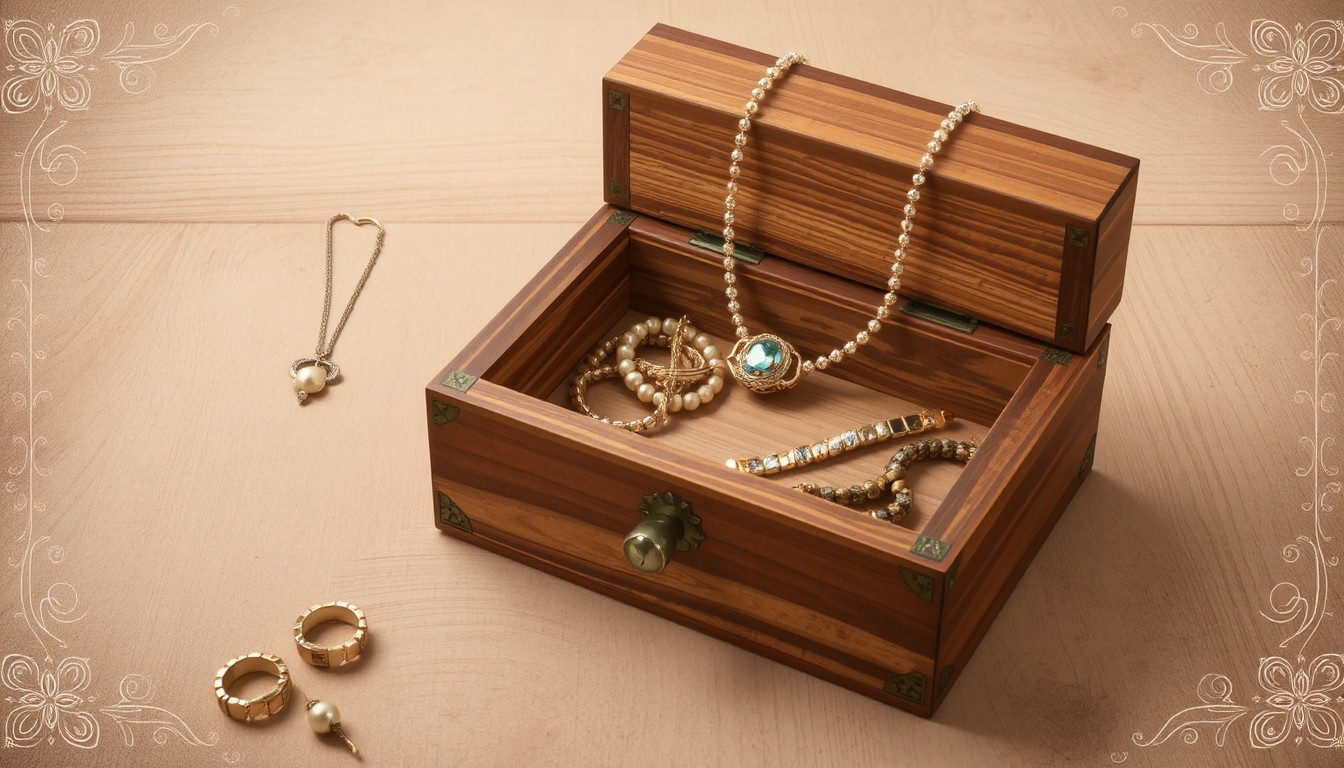
Materials and Tools Needed
Essential Woodworking Tools
Building a wooden jewelry box requires a set of basic woodworking tools to ensure precision and quality. Beginners should gather the following essentials:
| Tool | Purpose |
|---|---|
| Measuring Tape | Accurately measure wood pieces for cutting and assembly. |
| Saw (Hand or Circular) | Cut wood to the desired dimensions. A miter saw is ideal for angled cuts. |
| Sandpaper (Various Grits) | Smooth rough edges and surfaces for a polished finish. |
| Clamps | Hold pieces together securely during gluing or assembly. |
| Wood Glue | Bond wood pieces together for a sturdy construction. |
| Drill and Bits | Create holes for hinges, handles, or decorative elements. |
| Chisels | Carve out small details or clean up joints. |
| Screwdriver | Install hardware like hinges or clasps. |
These tools form the foundation for any woodworking project, ensuring efficiency and accuracy throughout the process. Beginners should prioritize quality tools that are easy to handle and maintain.
Types of Wood for Jewelry Boxes
Choosing the right type of wood is crucial for both durability and aesthetics. Below is a comparison of popular wood types for jewelry boxes:
| Wood Type | Characteristics | Best For |
|---|---|---|
| Maple | Light color, fine grain, and high durability. | Classic, minimalist designs. |
| Walnut | Rich, dark tones with a smooth texture. | Elegant, high-end jewelry boxes. |
| Cherry | Warm reddish-brown hue that darkens over time. | Traditional or rustic styles. |
| Oak | Strong and durable with prominent grain patterns. | Sturdy, long-lasting boxes. |
| Pine | Lightweight and affordable but softer than hardwoods. | Budget-friendly or painted designs. |
Each type of wood offers unique benefits, so the choice depends on the desired look and functionality of the jewelry box. Beginners may prefer softer woods like pine for easier handling, while more experienced crafters might opt for hardwoods like walnut or maple for a refined finish.
Additional Supplies and Hardware
Beyond tools and wood, several additional supplies and hardware are needed to complete the jewelry box. These items ensure functionality and enhance the overall design:
| Item | Purpose | Notes |
|---|---|---|
| Hinges | Allow the lid to open and close smoothly. | Choose small, decorative hinges. |
| Knobs or Handles | Provide a grip for opening the box. | Match the box’s aesthetic. |
| Felt or Lining Fabric | Line the interior to protect jewelry and add a luxurious touch. | Available in various colors and textures. |
| Wood Finish (Stain or Varnish) | Protect the wood and enhance its natural beauty. | Apply evenly for a professional look. |
| Small Magnets | Keep the lid securely closed. | Optional but useful for added security. |
These supplies not only improve the functionality of the jewelry box but also allow for personalization. Beginners can experiment with different finishes and linings to create a unique piece that reflects their style.
Step-by-Step Construction Process
Measuring and Cutting the Wood Pieces
The first step in building a wooden jewelry box is accurately measuring and cutting the wood pieces. This ensures all components fit together seamlessly during assembly. Beginners should use a tape measure, pencil, and square to mark the dimensions on the wood. A table saw or handsaw can be used for cutting, depending on the tools available.
Below is a table outlining the standard measurements for a small jewelry box:
| Component | Dimensions (inches) | Quantity |
|---|---|---|
| Base | 8 x 6 | 1 |
| Front and Back Panels | 8 x 2 | 2 |
| Side Panels | 6 x 2 | 2 |
| Lid | 8.25 x 6.25 | 1 |
After marking the measurements, carefully cut the pieces using a saw. Sand the edges with medium-grit sandpaper to remove splinters and ensure smooth surfaces. Double-check all pieces before moving to the next step to avoid alignment issues later.
Assembling the Box Frame
Once the wood pieces are cut and sanded, the next step is assembling the box frame. Start by laying the base piece flat on a work surface. Apply wood glue along the edges where the front, back, and side panels will attach. Use clamps to hold the pieces in place while the glue dries.
For added durability, reinforce the corners with small nails or brads. A nail gun or hammer can be used for this purpose. Ensure the frame is square by measuring diagonally from corner to corner; both measurements should be equal. If not, adjust the frame before the glue sets completely.
Here’s a quick checklist for assembling the frame:
- Apply wood glue evenly to edges.
- Clamp pieces together firmly.
- Reinforce corners with nails or brads.
- Check for squareness before letting the glue dry.
Allow the frame to dry for at least an hour before proceeding to the next step. This ensures a sturdy foundation for adding compartments and dividers.
Adding Compartments and Dividers
The final step in constructing the jewelry box is adding compartments and dividers to organize small items like rings, earrings, and necklaces. Measure the interior dimensions of the box to determine the size of the dividers. Cut thin strips of wood or use pre-cut craft wood for this purpose.
To create compartments, follow these steps:
- Measure and mark where each divider will go inside the box.
- Apply wood glue to the edges of the dividers.
- Insert the dividers into place, ensuring they are straight and level.
- Use clamps or small weights to hold them in place while the glue dries.
For a polished look, consider lining the compartments with felt or velvet. Cut the fabric to size and secure it with adhesive or small tacks. This not only enhances the appearance but also protects delicate jewelry from scratches.
Below is a table summarizing common compartment sizes for a jewelry box:
| Compartment Type | Dimensions (inches) | Purpose |
|---|---|---|
| Small Square | 2 x 2 | Rings, earrings |
| Rectangular | 4 x 2 | Bracelets, watches |
| Long Narrow | 6 x 1 | Necklaces, chains |
Once all compartments are in place, allow the glue to dry completely before using the box. This step ensures a functional and aesthetically pleasing storage solution for your jewelry collection.
Finishing Touches and Customization
Sanding and Smoothing the Surface
Once all compartments are in place and the glue has dried completely, the next step is to sand the jewelry box to ensure a smooth and polished finish. Begin by using coarse-grit sandpaper (around 80-120 grit) to remove any rough edges, splinters, or uneven surfaces. Focus on the corners and edges, as these areas are prone to roughness. After the initial sanding, switch to a finer-grit sandpaper (180-220 grit) to refine the surface further.
For best results, sand in the direction of the wood grain to avoid scratches. Wipe away dust with a clean, damp cloth or tack cloth before proceeding to the next step. This process not only enhances the appearance of the box but also prepares it for staining or painting.
| Sanding Step | Grit Level | Purpose |
|---|---|---|
| Initial Sanding | 80-120 grit | Remove rough edges and splinters |
| Refinement | 180-220 grit | Smooth the surface for finishing |
Staining or Painting the Jewelry Box
After sanding, the jewelry box is ready for staining or painting. Staining highlights the natural grain of the wood, while painting allows for a more personalized and colorful finish. Before applying any product, ensure the surface is clean and free of dust.
If staining, use a pre-stain wood conditioner to ensure even absorption. Apply the stain with a brush or cloth, following the wood grain, and wipe off excess stain after a few minutes. Allow it to dry completely before applying a second coat if desired. For painting, use a primer first to create a smooth base, then apply acrylic or wood paint in thin, even layers.
| Finish Type | Steps | Tips |
|---|---|---|
| Staining | 1. Apply pre-stain conditioner 2. Apply stain 3. Wipe excess 4. Let dry |
Use a lint-free cloth for even application |
| Painting | 1. Apply primer 2. Paint in thin layers 3. Let dry between coats |
Use a foam brush for a smooth finish |
Installing Hinges and Hardware
The final step in completing your wooden jewelry box is installing hinges and hardware. Start by marking the placement of the hinges on both the lid and the base of the box. Use a small drill bit to create pilot holes for the screws to prevent splitting the wood. Attach the hinges securely using a screwdriver or drill, ensuring they are aligned properly for smooth opening and closing.
If your design includes additional hardware, such as a clasp or decorative handles, install these next. A clasp ensures the lid stays closed securely, while handles add both functionality and style. Double-check that all hardware is firmly attached and functions correctly before using the box.
| Hardware Type | Installation Steps | Tools Needed |
|---|---|---|
| Hinges | 1. Mark placement 2. Drill pilot holes 3. Attach with screws |
Drill, screwdriver |
| Clasp/Handles | 1. Mark placement 2. Drill holes 3. Secure with screws |
Drill, screwdriver |
With these finishing touches complete, your custom wooden jewelry box is ready to store and showcase your favorite pieces. The combination of careful sanding, personalized finishing, and secure hardware ensures a durable and beautiful storage solution.
Tips for Maintenance and Care
Cleaning and Protecting the Wood
To keep your wooden jewelry box looking its best, regular cleaning and protection are essential. Dust and dirt can accumulate over time, dulling the finish and potentially scratching the surface. Use a soft, lint-free cloth to wipe down the exterior and interior of the box weekly. For deeper cleaning, a mild wood cleaner or a solution of water and a few drops of dish soap can be used. Avoid harsh chemicals or abrasive materials, as they can damage the wood’s finish.
After cleaning, apply a wood polish or wax to protect the surface and enhance its natural luster. This step not only maintains the box’s appearance but also creates a barrier against moisture and scratches. Below is a table summarizing the recommended cleaning and protection steps:
| Step | Materials Needed | Frequency |
|---|---|---|
| Dusting | Soft, lint-free cloth | Weekly |
| Deep Cleaning | Mild wood cleaner or soapy water | Monthly |
| Polishing/Waxing | Wood polish or wax | Every 2-3 months |
By following these steps, your jewelry box will remain in pristine condition for years to come.
Organizing Jewelry Effectively
A well-organized jewelry box not only protects your pieces but also makes them easily accessible. Start by categorizing your jewelry into groups such as rings, necklaces, earrings, and bracelets. Use dividers, trays, or small pouches to keep items separated and prevent tangling. For delicate pieces like chains, consider using hooks or padded inserts to avoid damage.
Here’s a simple guide to organizing your jewelry box effectively:
| Jewelry Type | Storage Solution | Tips |
|---|---|---|
| Rings | Ring rolls or small compartments | Store by type (e.g., stacking rings) |
| Necklaces | Hooks or padded inserts | Hang to prevent tangling |
| Earrings | Earring cards or small trays | Pair studs and hooks together |
| Bracelets | Flat trays or soft pouches | Stack or roll to save space |
Regularly reassess your organization system to ensure it meets your needs. This will help you maintain order and make it easier to find your favorite pieces.
Repairing Minor Damages
Even with proper care, minor damages like scratches, dents, or loose hinges can occur over time. Addressing these issues promptly can prevent further deterioration. For scratches, use a wood touch-up marker or wax stick that matches the box’s finish. Lightly sand the area with fine-grit sandpaper before applying the product for a seamless repair.
If the hinges become loose, tighten the screws with a small screwdriver. For more significant damage, such as cracks or deep scratches, consider using wood filler or consulting a professional for repairs. Below is a quick reference table for common repairs:
| Issue | Solution | Tools Needed |
|---|---|---|
| Scratches | Wood touch-up marker or wax stick | Fine-grit sandpaper, cloth |
| Loose Hinges | Tighten screws | Small screwdriver |
| Dents | Wood filler | Putty knife, sandpaper |
| Cracks | Wood glue | Clamps, sandpaper |
By addressing minor damages early, you can extend the life of your jewelry box and keep it looking as good as new.
FAQ
- What are the essential tools needed to build a wooden jewelry box?
To build a wooden jewelry box, you will need a measuring tape, saw (hand or circular), sandpaper (various grits), clamps, wood glue, drill and bits, chisels, and a screwdriver. These tools ensure precision and quality throughout the construction process. - Which types of wood are best for making a jewelry box?
Popular wood types for jewelry boxes include maple (light and durable), walnut (rich and elegant), cherry (warm and traditional), oak (strong and durable), and pine (lightweight and budget-friendly). The choice depends on the desired look and functionality. - What additional supplies are needed to complete a jewelry box?
Additional supplies include hinges, knobs or handles, felt or lining fabric, wood finish (stain or varnish), and small magnets. These items enhance functionality and allow for personalization. - How do I measure and cut the wood pieces for a jewelry box?
Use a tape measure, pencil, and square to mark the dimensions on the wood. Cut the pieces using a saw, and sand the edges with medium-grit sandpaper. Standard measurements include an 8×6 inch base, 8×2 inch front and back panels, 6×2 inch side panels, and an 8.25×6.25 inch lid. - How do I assemble the box frame?
Lay the base piece flat, apply wood glue along the edges, and attach the front, back, and side panels. Use clamps to hold the pieces in place and reinforce the corners with nails or brads. Ensure the frame is square by measuring diagonally from corner to corner. - How do I add compartments and dividers to the jewelry box?
Measure the interior dimensions and cut thin strips of wood for dividers. Apply wood glue to the edges and insert the dividers into place. Use clamps or small weights to hold them while the glue dries. Line the compartments with felt or velvet for a polished look. - What is the process for sanding and smoothing the jewelry box?
Start with coarse-grit sandpaper (80-120 grit) to remove rough edges, then switch to finer-grit sandpaper (180-220 grit) to refine the surface. Sand in the direction of the wood grain and wipe away dust with a clean, damp cloth. - How do I stain or paint the jewelry box?
For staining, apply a pre-stain wood conditioner, then apply the stain with a brush or cloth, wiping off excess after a few minutes. For painting, apply a primer first, then paint in thin, even layers. Allow each coat to dry completely before applying the next. - How do I install hinges and hardware on the jewelry box?
Mark the placement of the hinges on the lid and base, drill pilot holes, and attach the hinges with screws. Install additional hardware like clasps or handles by marking their placement, drilling holes, and securing them with screws. - How do I maintain and care for my wooden jewelry box?
Regularly dust the box with a soft, lint-free cloth and clean it with mild wood cleaner or soapy water. Apply wood polish or wax every 2-3 months to protect the surface. Organize jewelry effectively using dividers or trays, and repair minor damages like scratches or loose hinges promptly.
Post time: Feb-13-2025
.png)
.png)
.png)
.png)

.png)